For clubs or membership organizations, this integration offers the capability to upload all member details, including member ID, first name, last name, email, and tier level. Consequently, this integration empowers you to extend discounts to your members when they purchase tickets, based on their membership tier.
To enable this:
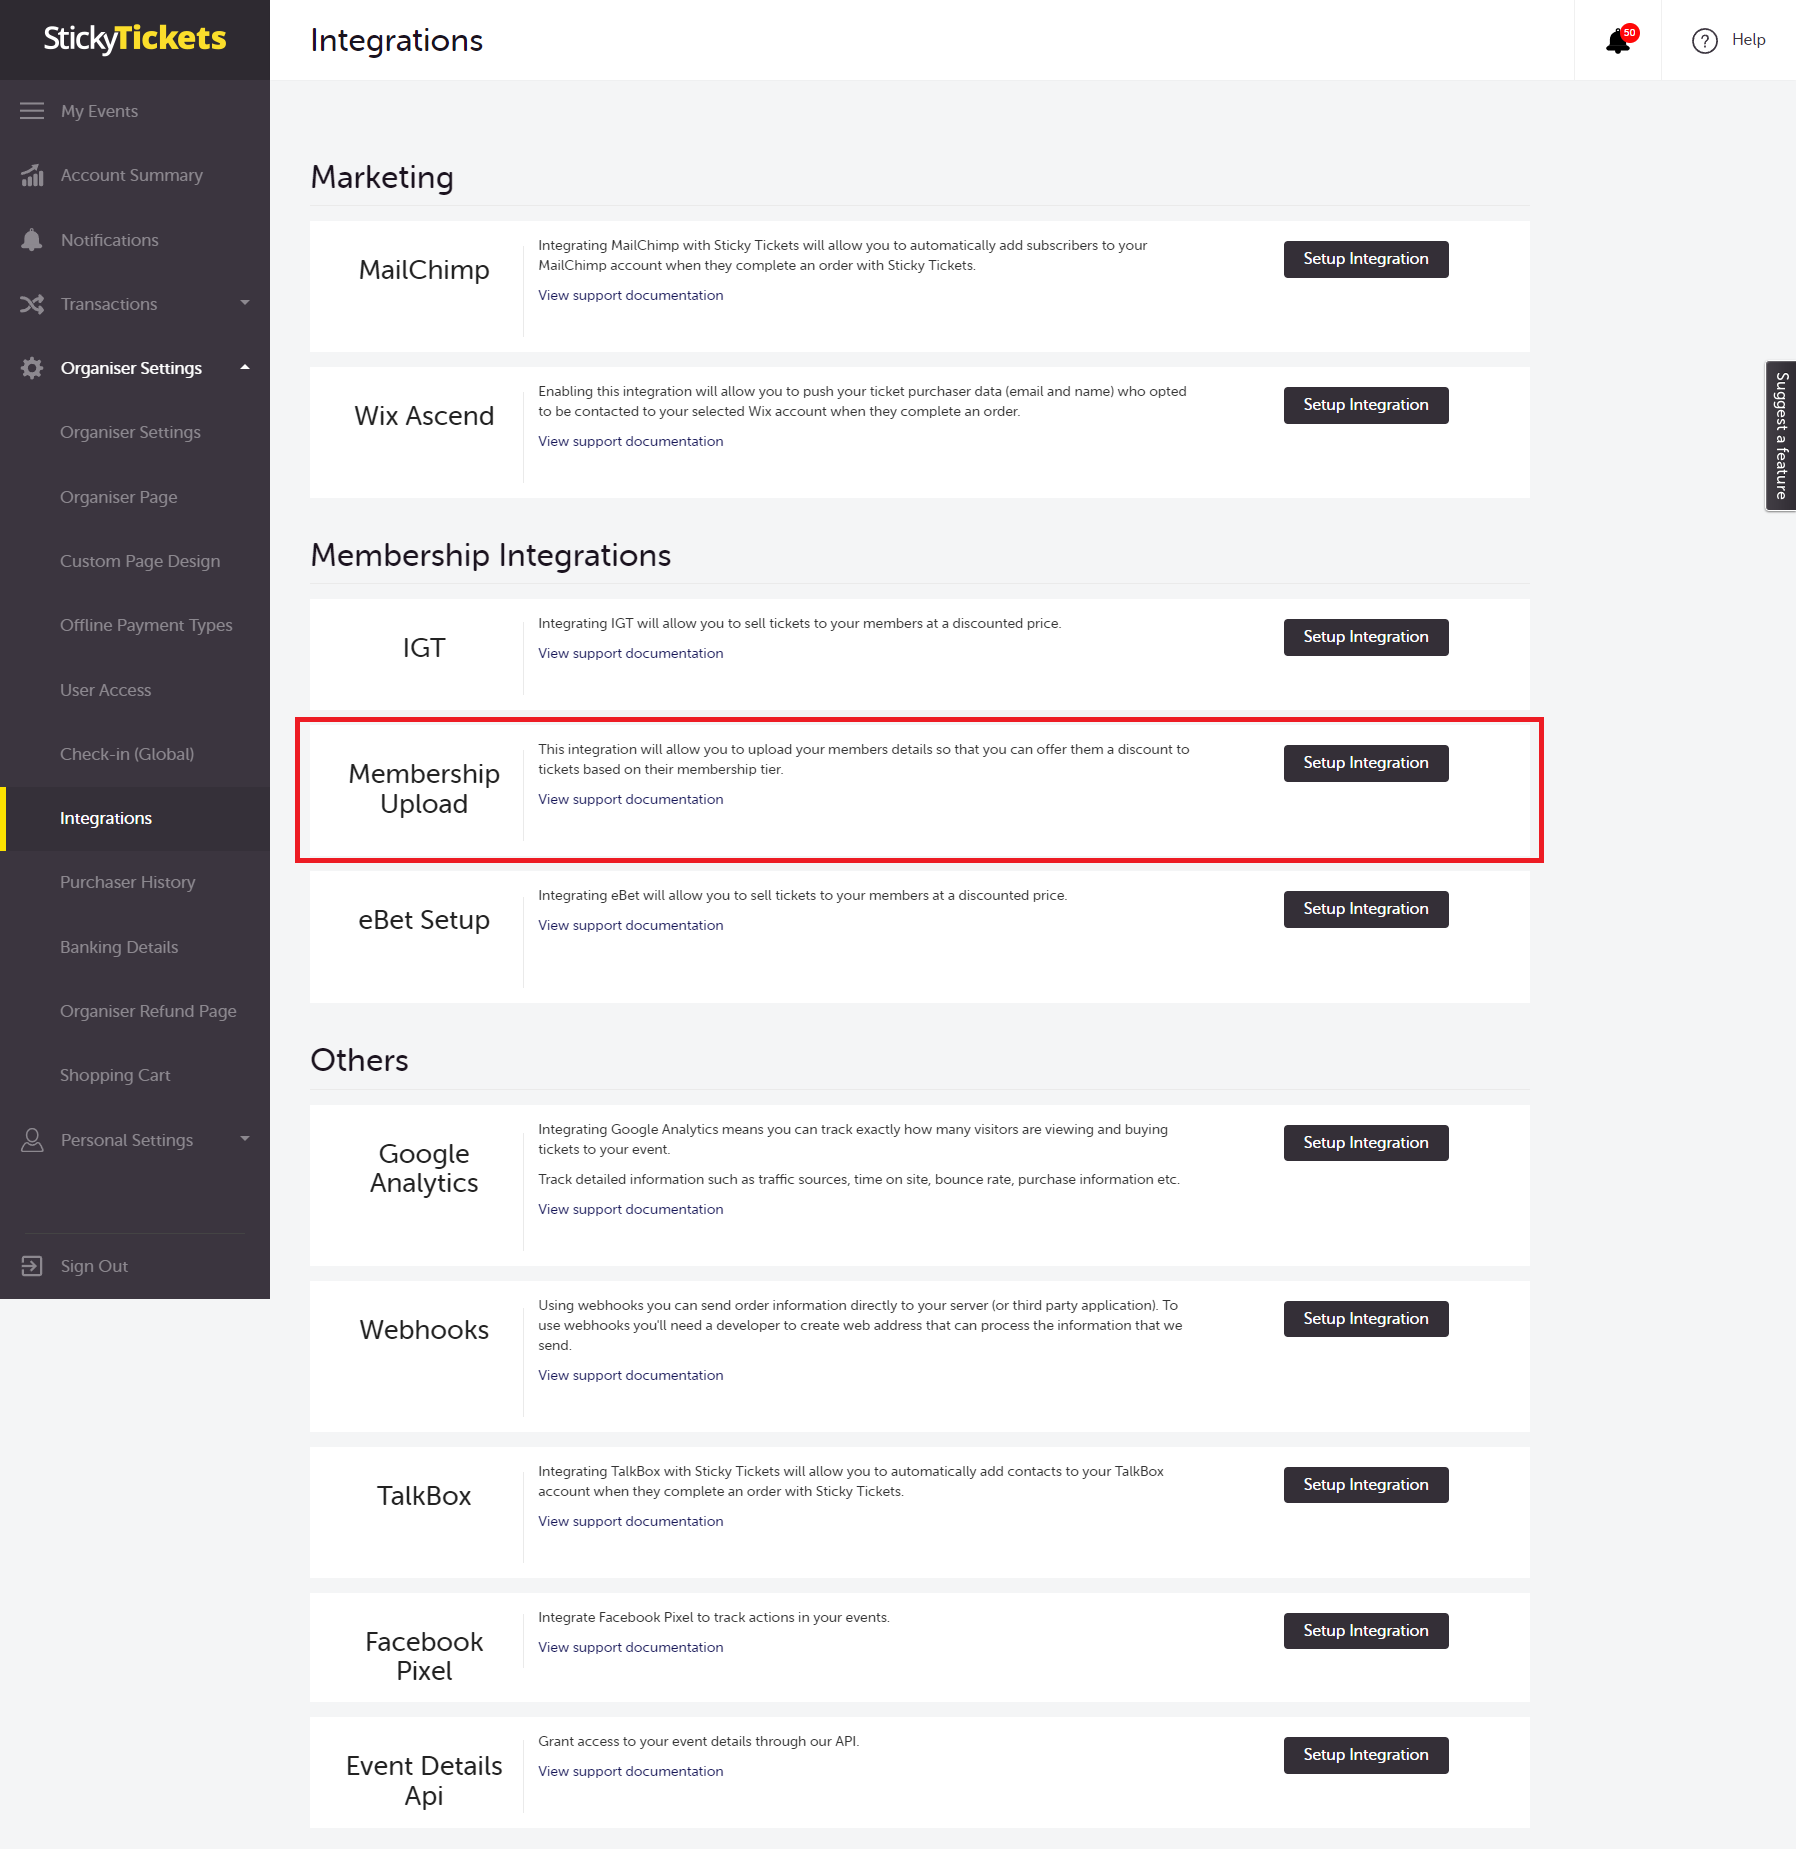
1. Login to your account and navigate to the Organiser Settings tab > Integration tab
2. Scroll to the bottom and click the Setup Integration button for Membership Upload.
Note: Choosing to use this Membership Integration will disable other membership integrations you have set up before.
3. On the Membership page, Enter the name of the Membership name you want to use.

4. Create a CSV file listing all your members and their details. You can download the template available on this page to ensure you have the correct file format. It's important that the headings are identical to the headings in the sample file.
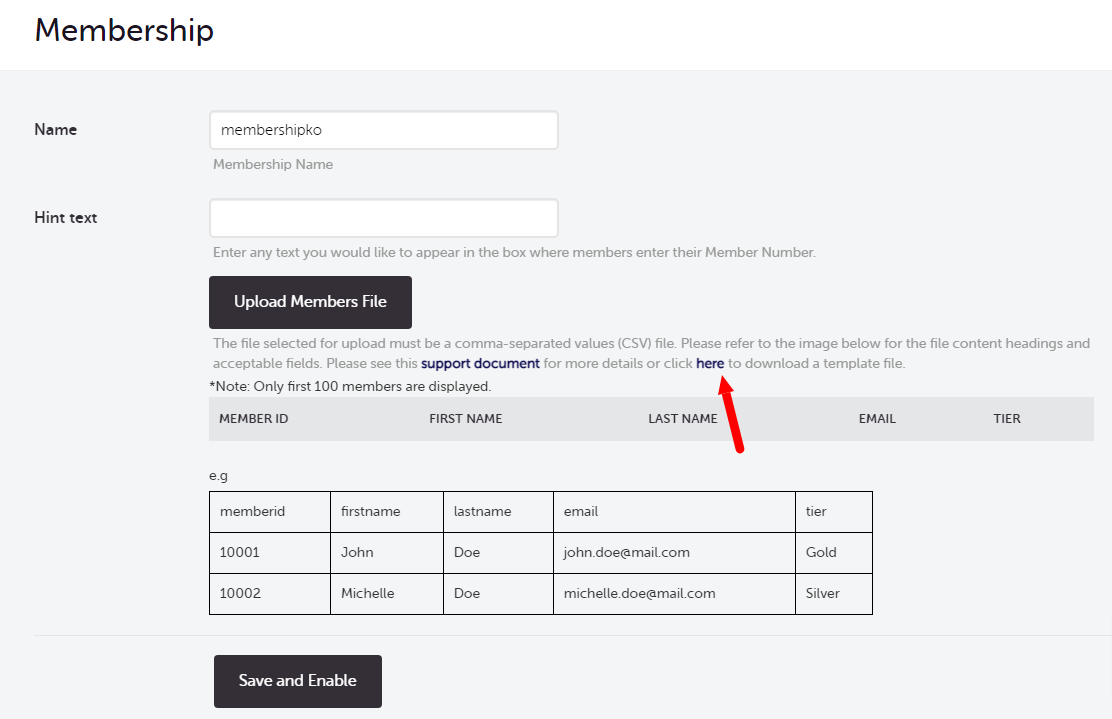
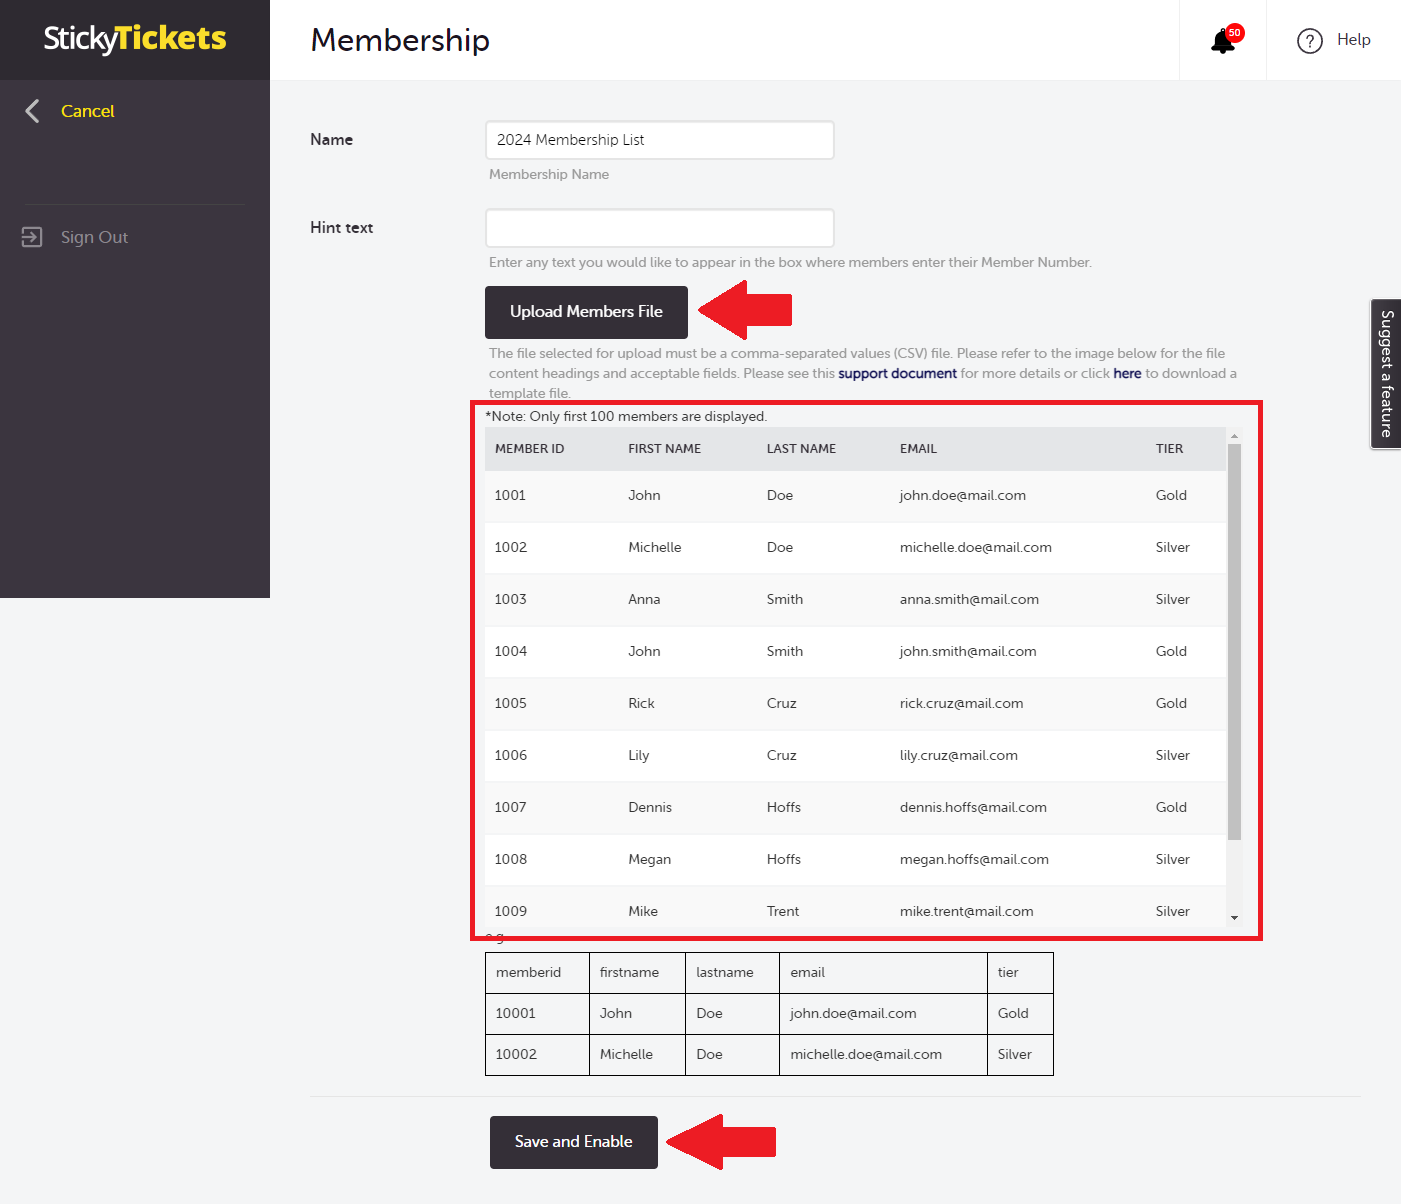
5. Once you have the file ready, click the Upload Members File button to upload the file. When the file is successfully upload you will see the details on the screen. Once you're satisfied with the uploaded file, click the Save and Enable button. Your Membership Integration will be shown as Enabled. To delete or update the file, click the Edit button.

Important note:
-
Uploading a new file will override the existing file in the system.
-
When adding new or removing members, update the list of the original file, then upload the updated data.
-
File headings must be identical and in the same order as in the sample file provided.
Now that members have been added and the integration is enabled, you can assign discounts to your member tiers. Set membership discounts according to their tier level.
To do this:
1. Go to the My Events tab and open the event you want to set up membership discounts for.
2. In the Edit Event tab, scroll to the Member Tier section
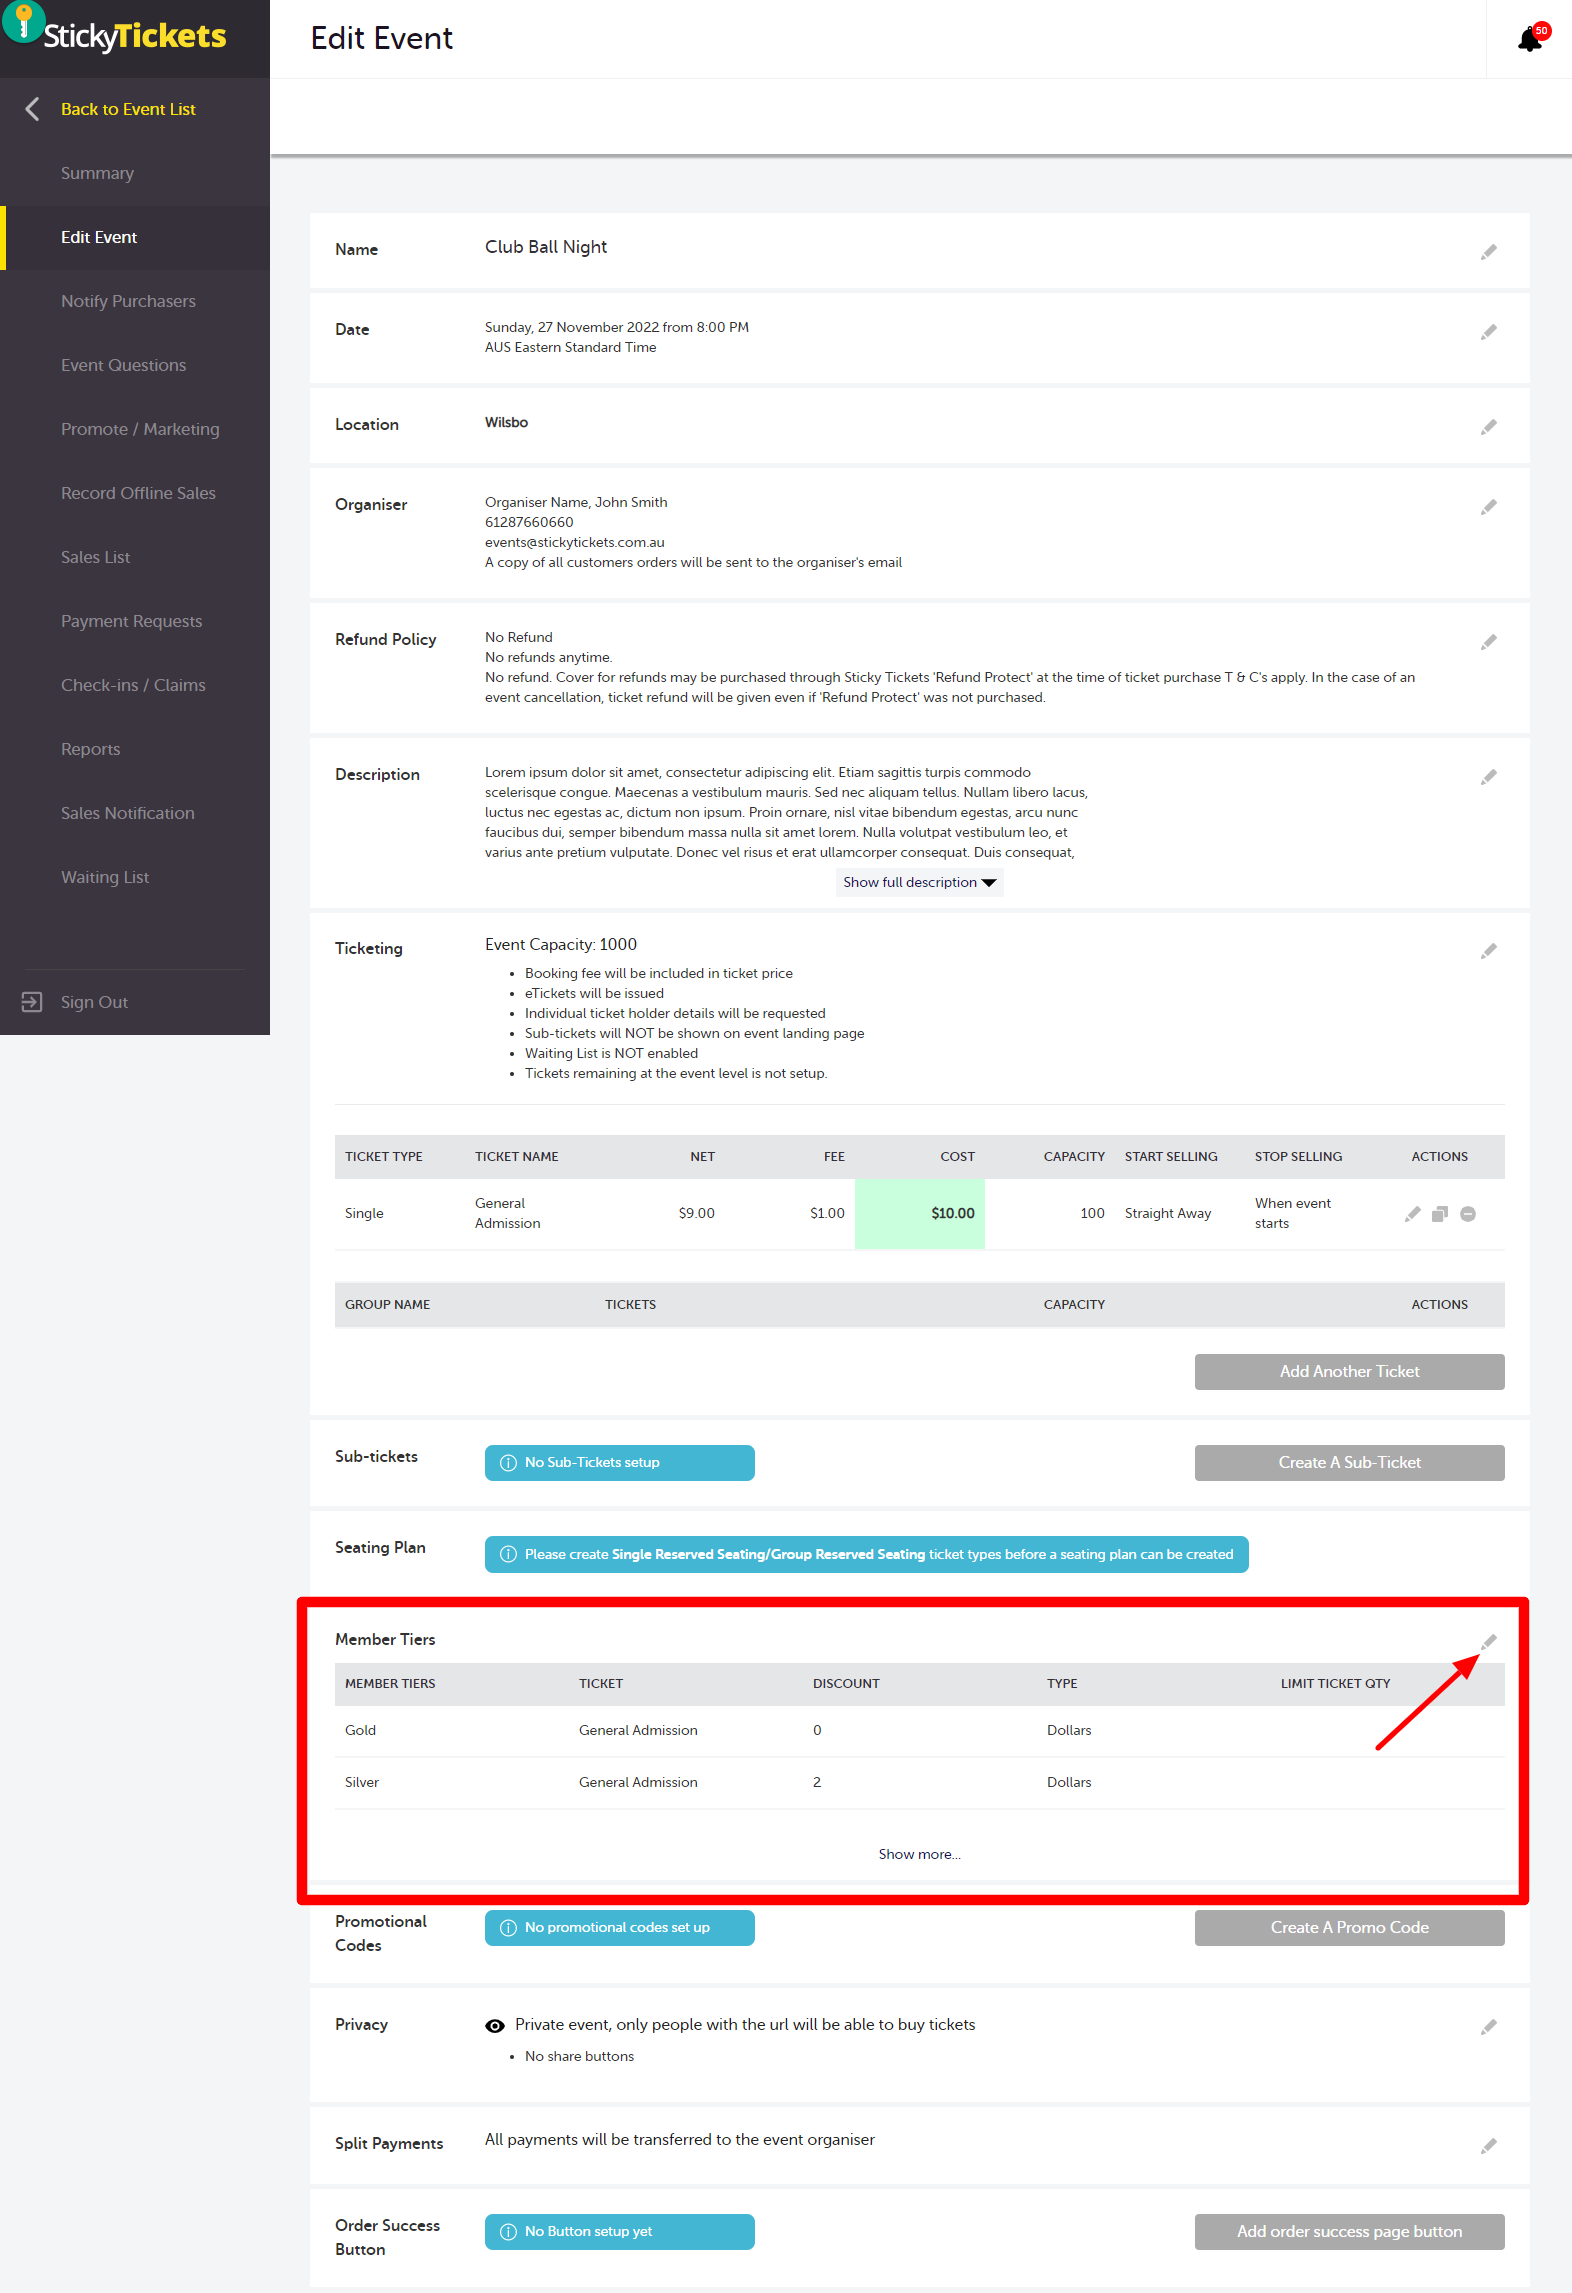
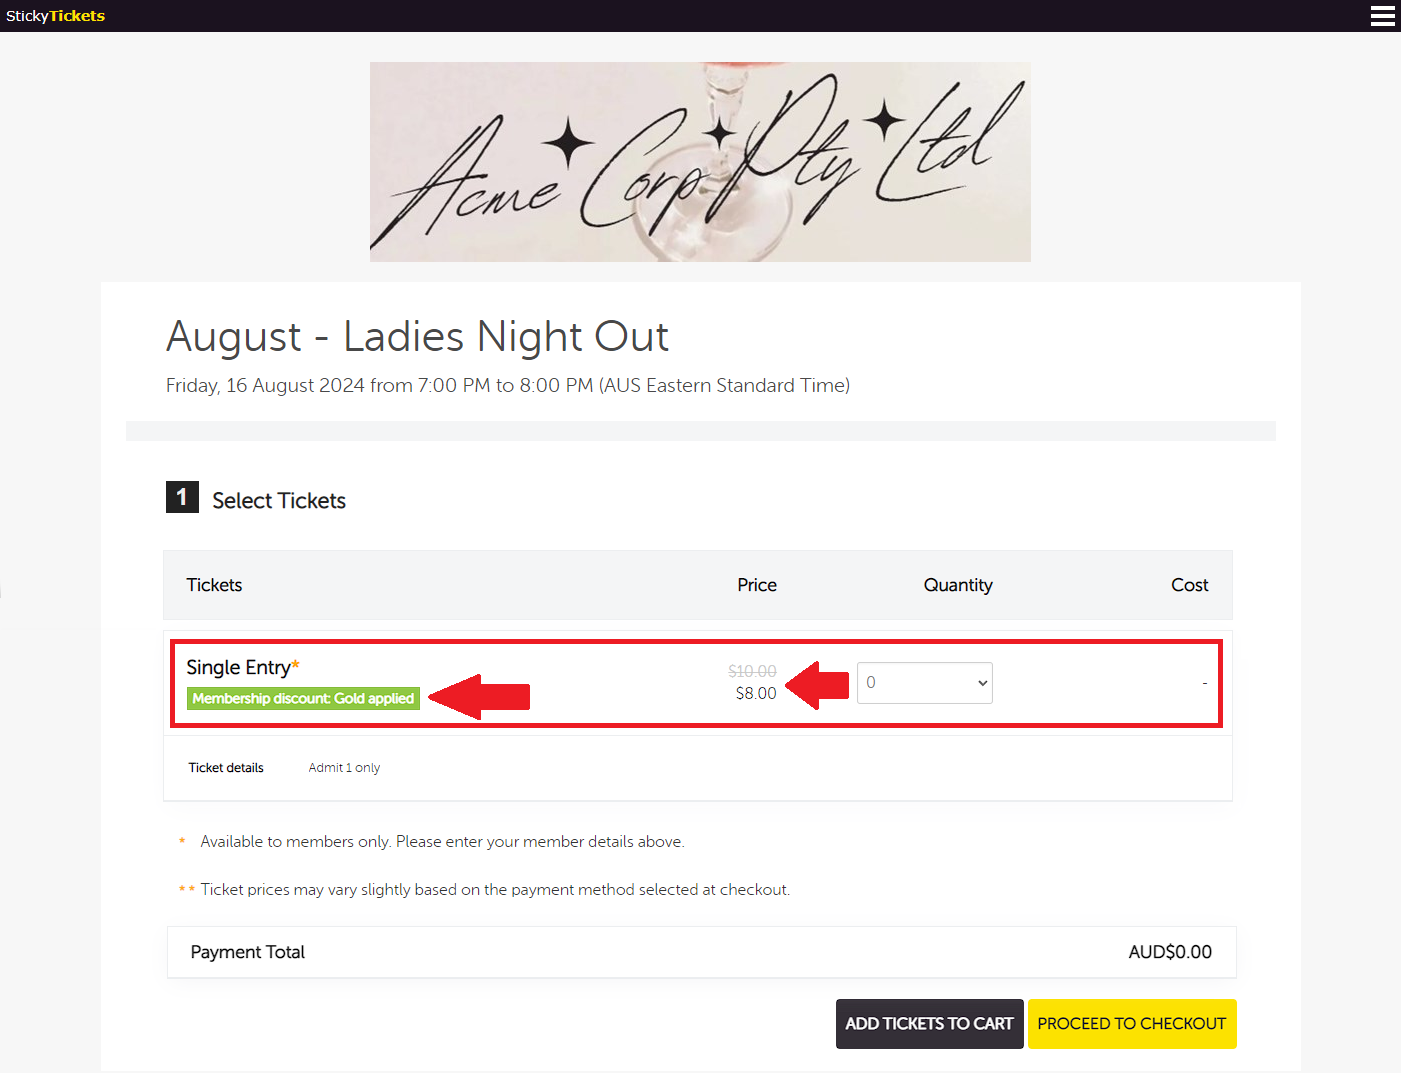
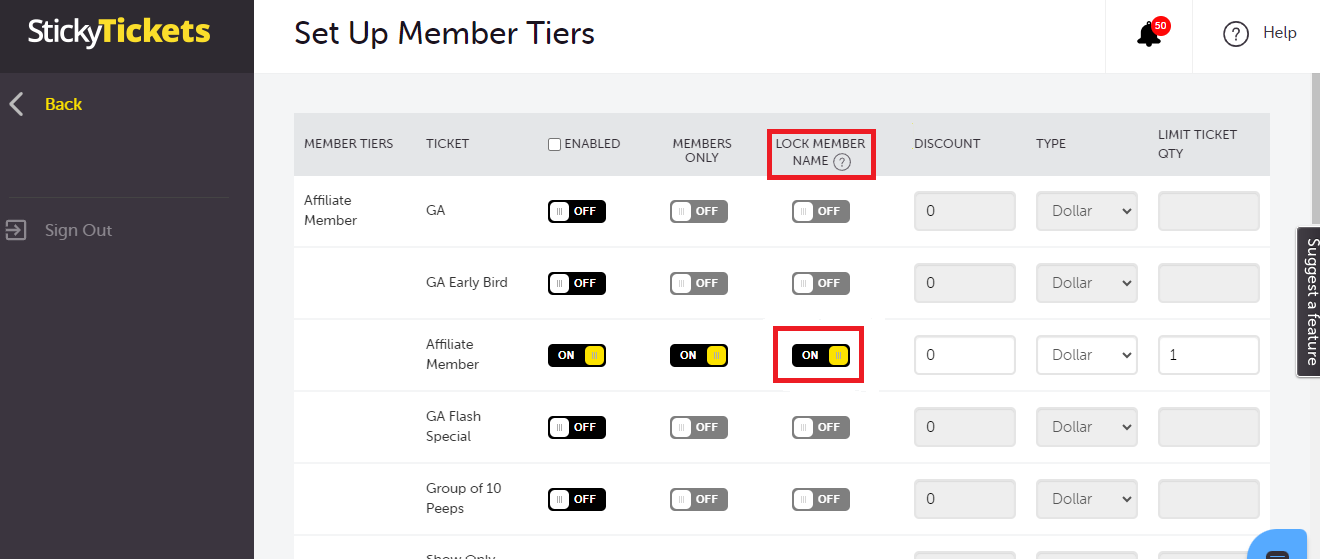
3. In the Set Up Member Tiers page, set the discount for each member tier level for each ticket type.
- You can enable or disable the discount for each ticket type.
- You can choose whether to set the discount as a Percentage or Dollar amount.
- You can limit the number of discounted tickets per tier.
- You can set Lock Member Name that pre-fills to pre-fill and lock the ticket purchaser name (and first ticket holder name if appropriate) to match the member details entered.

4. Once you complete the settings, scroll down to the bottom and click the Save Changes button.
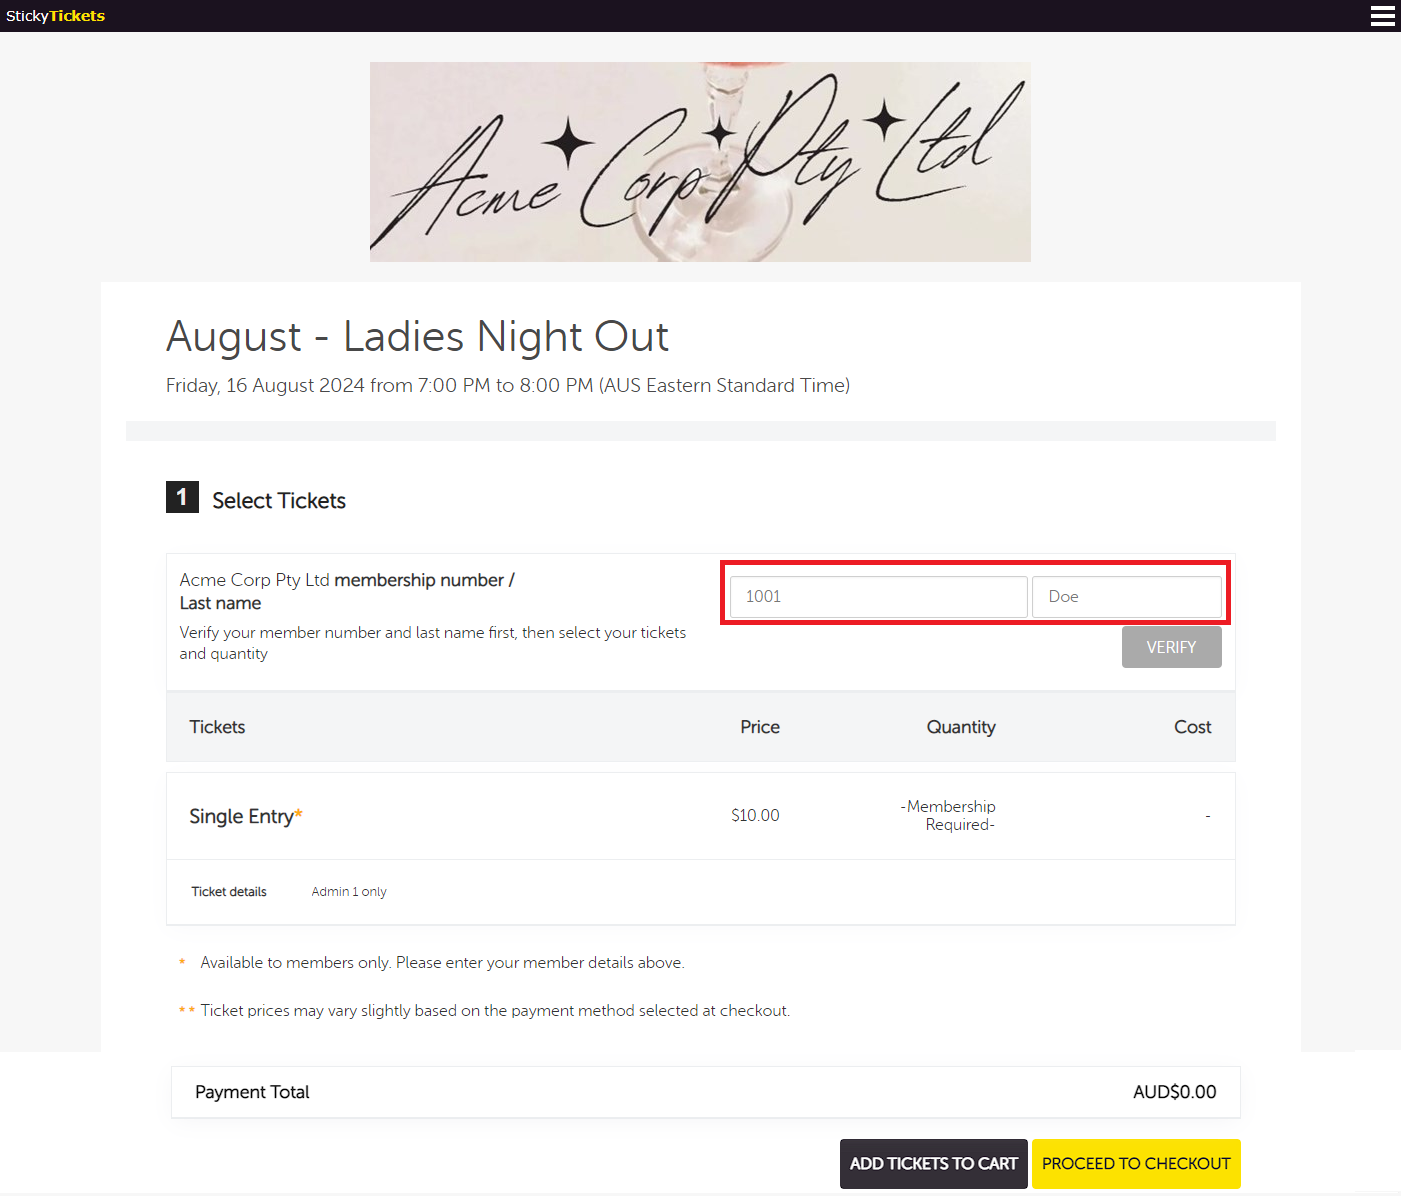
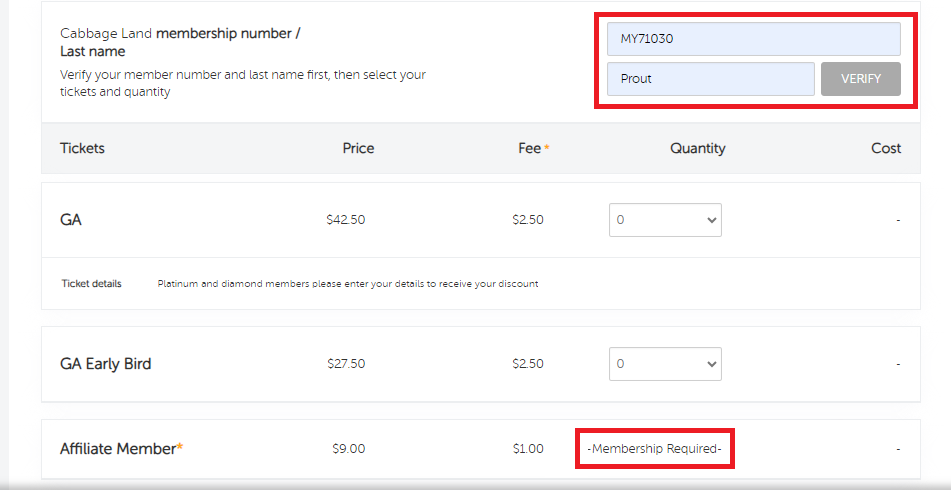
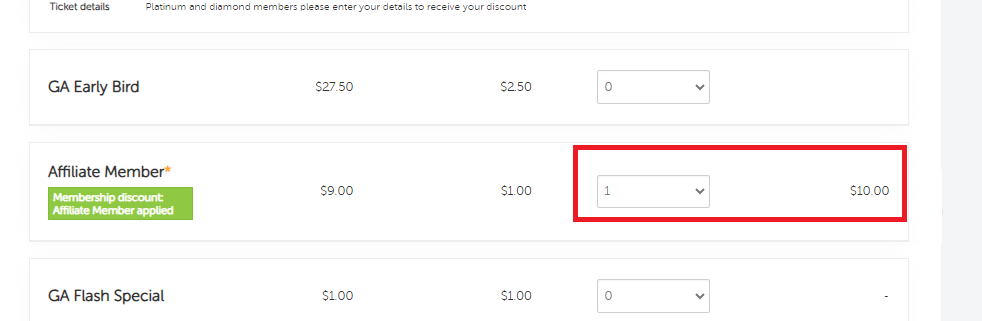
5. When members book their tickets for your event, they should enter their Member ID and Last Name, non-members can book their tickets as usual.
Note:
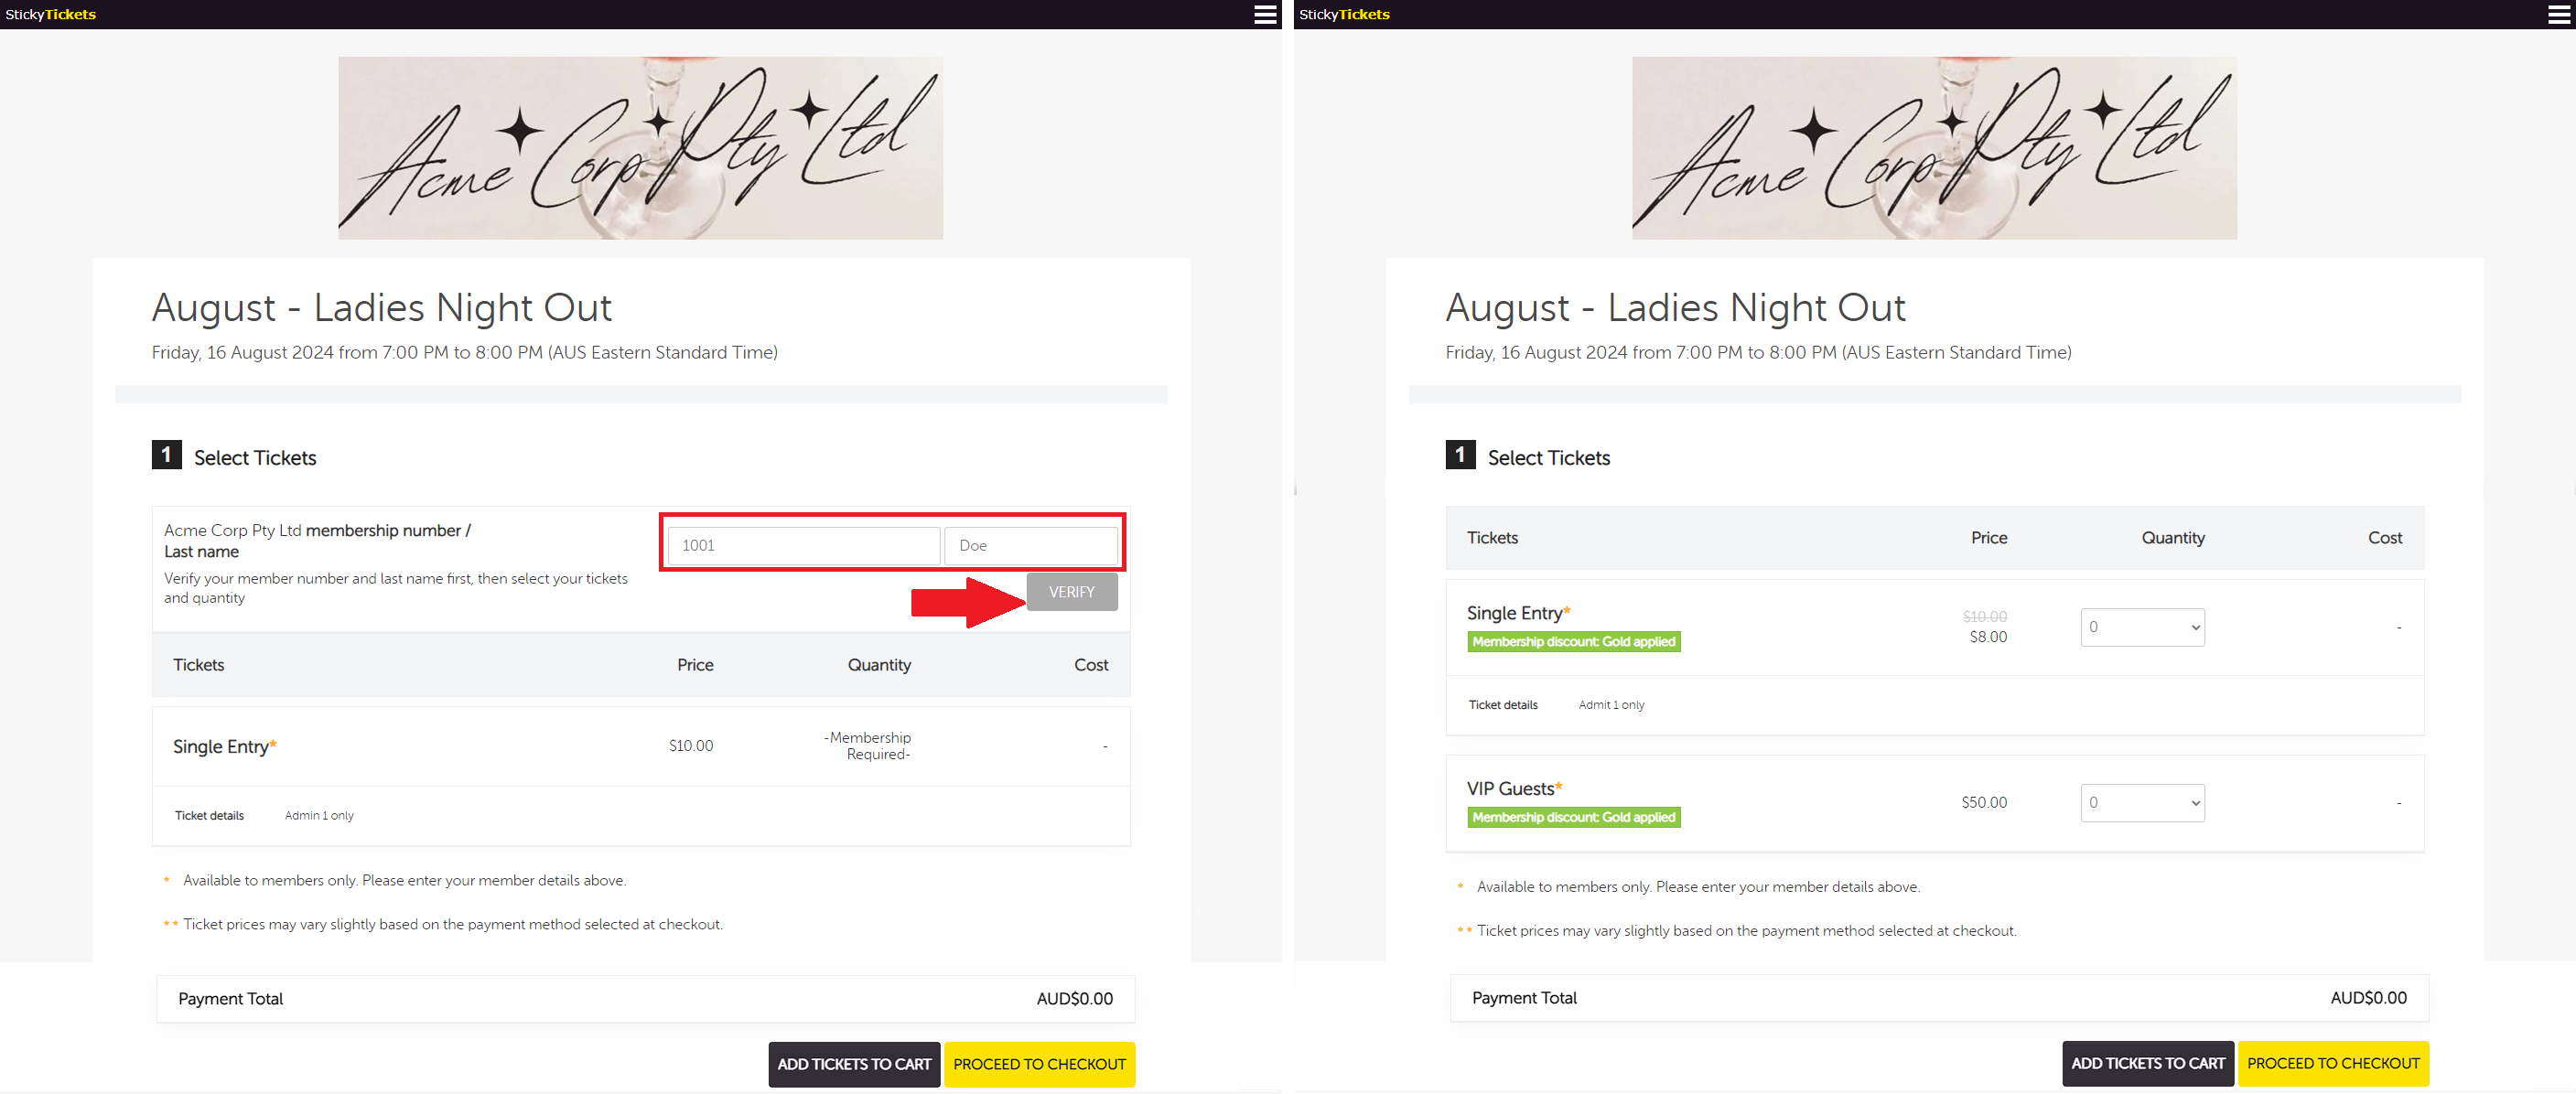
If you want to set up a ticket type that is hidden from the general public but revealed to members upon entering their member details:
1. Hide the ticket type in the individual ticket type settings.
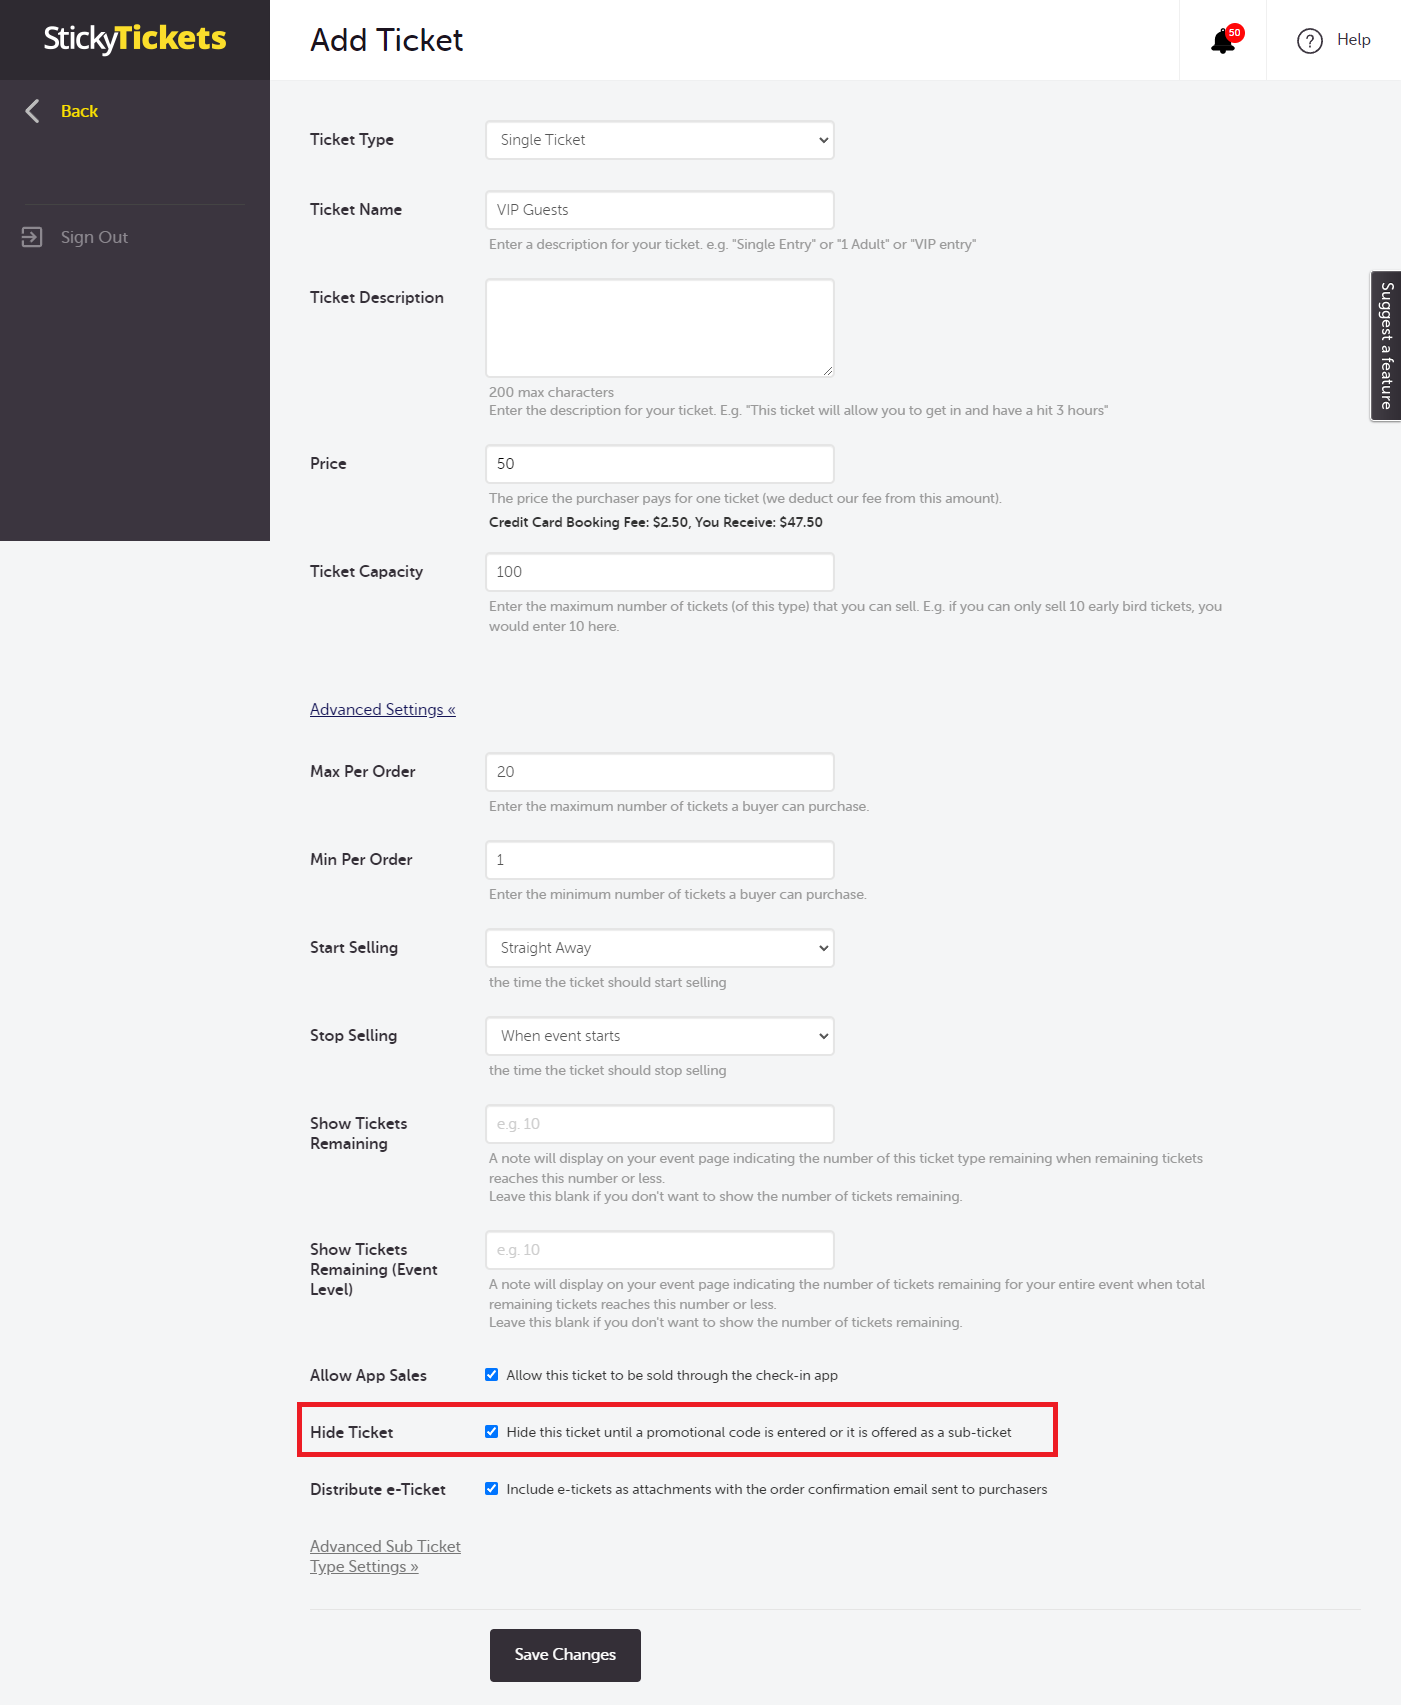
2. In the ‘Member tiers’ settings, enable the ticket type for the appropriate member tiers, set the appropriate discount/quantity settings, and click on ‘Save Changes’.

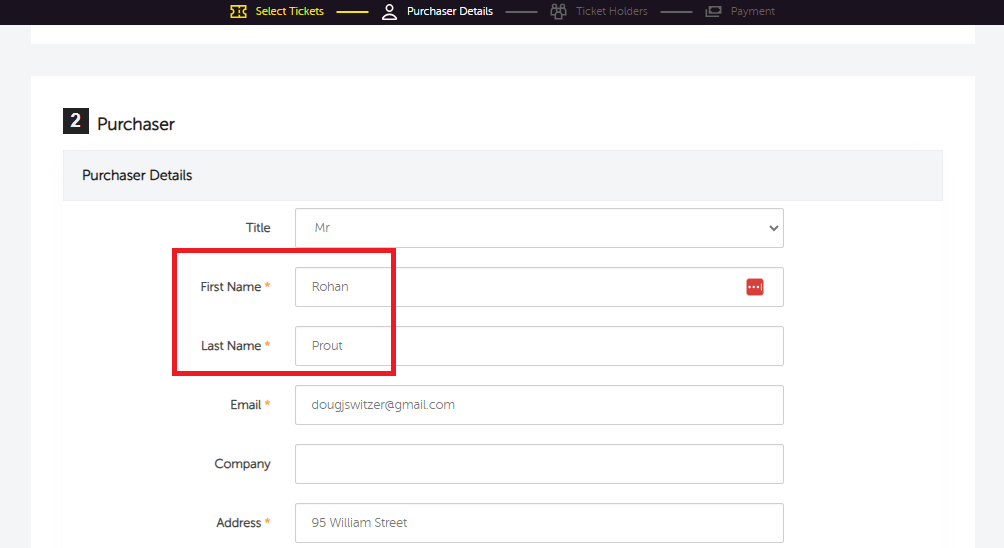
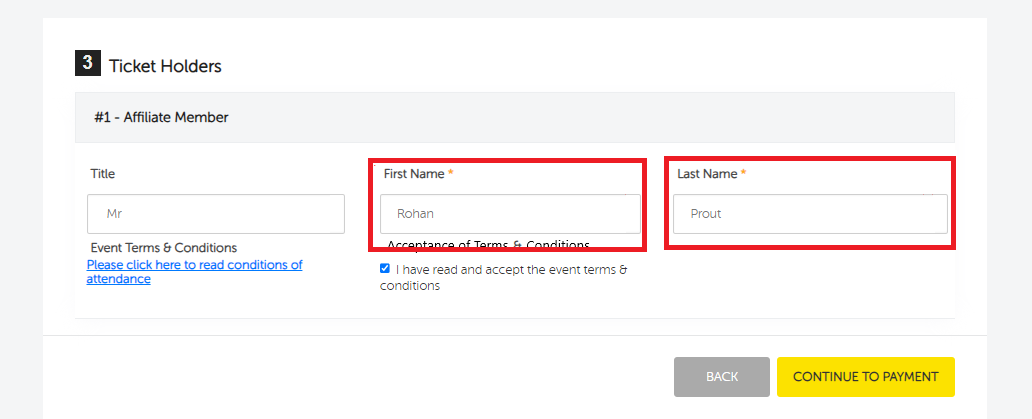
Lock Member Name: This feature locks member names as the ticket purchaser/first ticket holder. If you choose the 'Lock Member Name' setting for a particular ticket type/member tier:
- When a member enters their details to access tickets or discounts their first name and last name will be locked into the fields as the ticket purchaser.
- Their name will also be locked into the fields as the ticket holder. (If you only allow one discounted ticket per member, then their name will be locked into that one ticket. If you allow multiple discounted tickets per member, then their name will only be locked into the first ticket, and they can enter other people's names for the other tickets.)
We also offer live integrations with eBet, IGT and Aristocrat membership systems. Once these integrations are set up there is no need to upload or update any files, our system will securely query your live database to validate your members.
If you have any further questions about this topic, please don't hesitate to contact us, and we'd be more than happy to assist.