The Sessions feature lets you run the same event on multiple dates under a single event page. Ticket purchasers select their preferred date at checkout — all sessions are listed in one place, making it easy for them to browse and book.
Use sessions when you're running the same event at the same venue on different dates — for example, a weekly class, a multi-night performance, or a recurring workshop.
Different venue for each date? If your sessions will be held at different venues, use the Copy Event feature to create separate events instead. Changing the venue in a session affects all sessions — see below. See: How to copy an existing event.
How to add a new session
- Go to My Events and open the event you want to add a session to.
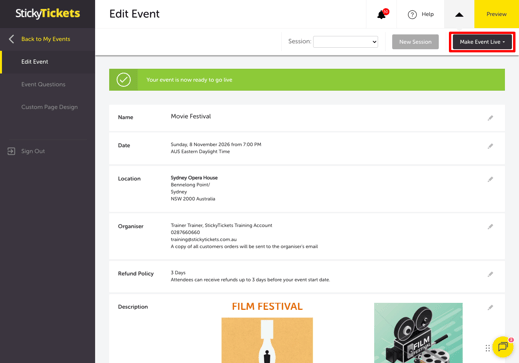
- Click New Session at the top of the Edit Event page.
- Enter the session date and time.
- Click Add Session.
- Review the session details carefully — pay particular attention to the venue and address (see the table below before confirming).
- Click Make Event Live and choose to go live now or schedule it for later.
Sessions can be added to events in any status — Live, Pending, or Completed.
What changes affect all sessions vs only one
Before making changes to a session, check this table to understand what will be updated across your entire event.
| What you change | Affects |
| Session date or time | That session only |
| Ticket settings | Your choice — you can apply changes to that session only, or across all sessions |
| Promotional code settings | Your choice — per session or across all sessions |
| Event name | All sessions |
| Venue or address | All sessions |
| Organiser details | All sessions |
| Event description | All sessions |
| Privacy settings | All sessions |
| Seating plan | All sessions (if a seating plan is configured) |
Venue and address changes affect all sessions. If you need a different venue for a specific date, create a separate event using the Copy feature rather than changing the address on an existing session.
Sessions with a seating plan
If your event has a seating plan, it will be included in any new session you create. Before making a new session live:
- Check the seat allocation — confirm seats have been assigned correctly for the new session.
- Publish the seating plan for the new session.
See: How to create and publish a seating plan for your event.
Most Common Scenarios and Questions
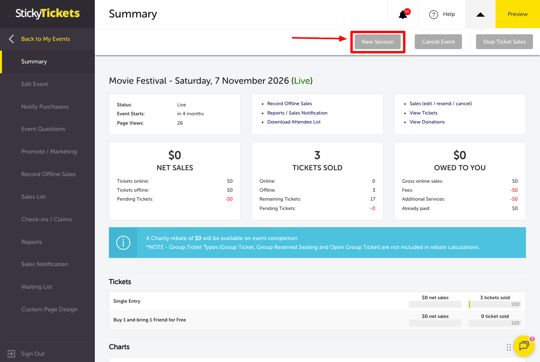
I can't find the New Session button.
-
The New Session button appears at the top of the Edit Event page. If you're on the Event Summary page, click the Edit Event tab first.
I changed the venue and it updated all my sessions unexpectedly.
-
Venue and address changes apply across all sessions. If you needed a different venue for one session only, you'll need to update the other sessions back to the original venue, or create a separate event for the different-venue date.
Can I add sessions to an event that has already been completed?
-
Yes — sessions can be added to events in any status: Pending, Live, or Completed.
Can I set different ticket prices for different sessions?
-
Yes — ticket settings can be changed per session. When editing ticket settings, you'll be given the option to apply the change to that session only or across all sessions.
Can I use different promotional codes for different sessions?
-
Yes — promotional code settings can be configured per session or across all sessions.
Will ticket purchasers see all sessions on the event page?
-
Yes — all live sessions appear on the event page and ticket purchasers select their preferred date at checkout.
Can I delete a session?
-
It depends on the session's status and whether any ticket records exist. A session in Pending or Live status with no records of sold or booked tickets can be deleted. If a session is Live or Cancelled with records of sold or cancelled tickets, it cannot be deleted.
Need more help?
If you need help creating or managing sessions, contact our support team.