Overview
The Facebook pixel is a powerful tool for tracking visitor activity on specific web pages, enabling the creation of targeted advertisements on Facebook. Additionally, it helps monitor the number of visitors interacting with a particular page.
Sticky Tickets Facebook Pixel Options:
-
Event Landing Page:
- Calls the pixel 'ViewContent' event for every page visit.
- Sends the event name and page as parameters.
-
Buy Tickets Page:
- Calls the pixel 'ViewContent' event for every page visit.
- Sends the event name and page as parameters.
-
Purchaser Details Page:
- Calls the pixel 'InitiateCheckout' event for every page visit.
- Sends the number of tickets and the total cost of the purchaser's selected tickets as parameters.
-
Order Success Page:
- Calls the pixel 'Purchase' event for every successful order purchase.
- Sends the number of tickets and the total cost of the purchaser's selected tickets as parameters.
-
All Pages:
- Calls all pixel events covered from #1-4.
-
None:
- No pixel event calls.
By providing these options, Sticky Tickets allows users to tailor their Facebook pixel integration based on specific pages and events, enabling a more comprehensive analysis of user interactions.
Requirements
-
Access in Facebook Events Manager.
-
Organiser should have a Facebook account.
-
-
Pixel ID.
Configuration
-
Log in as the Organiser
-
On the dashboard, go to Organiser Settings > Integrations > Facebook Pixel and click Step Integration
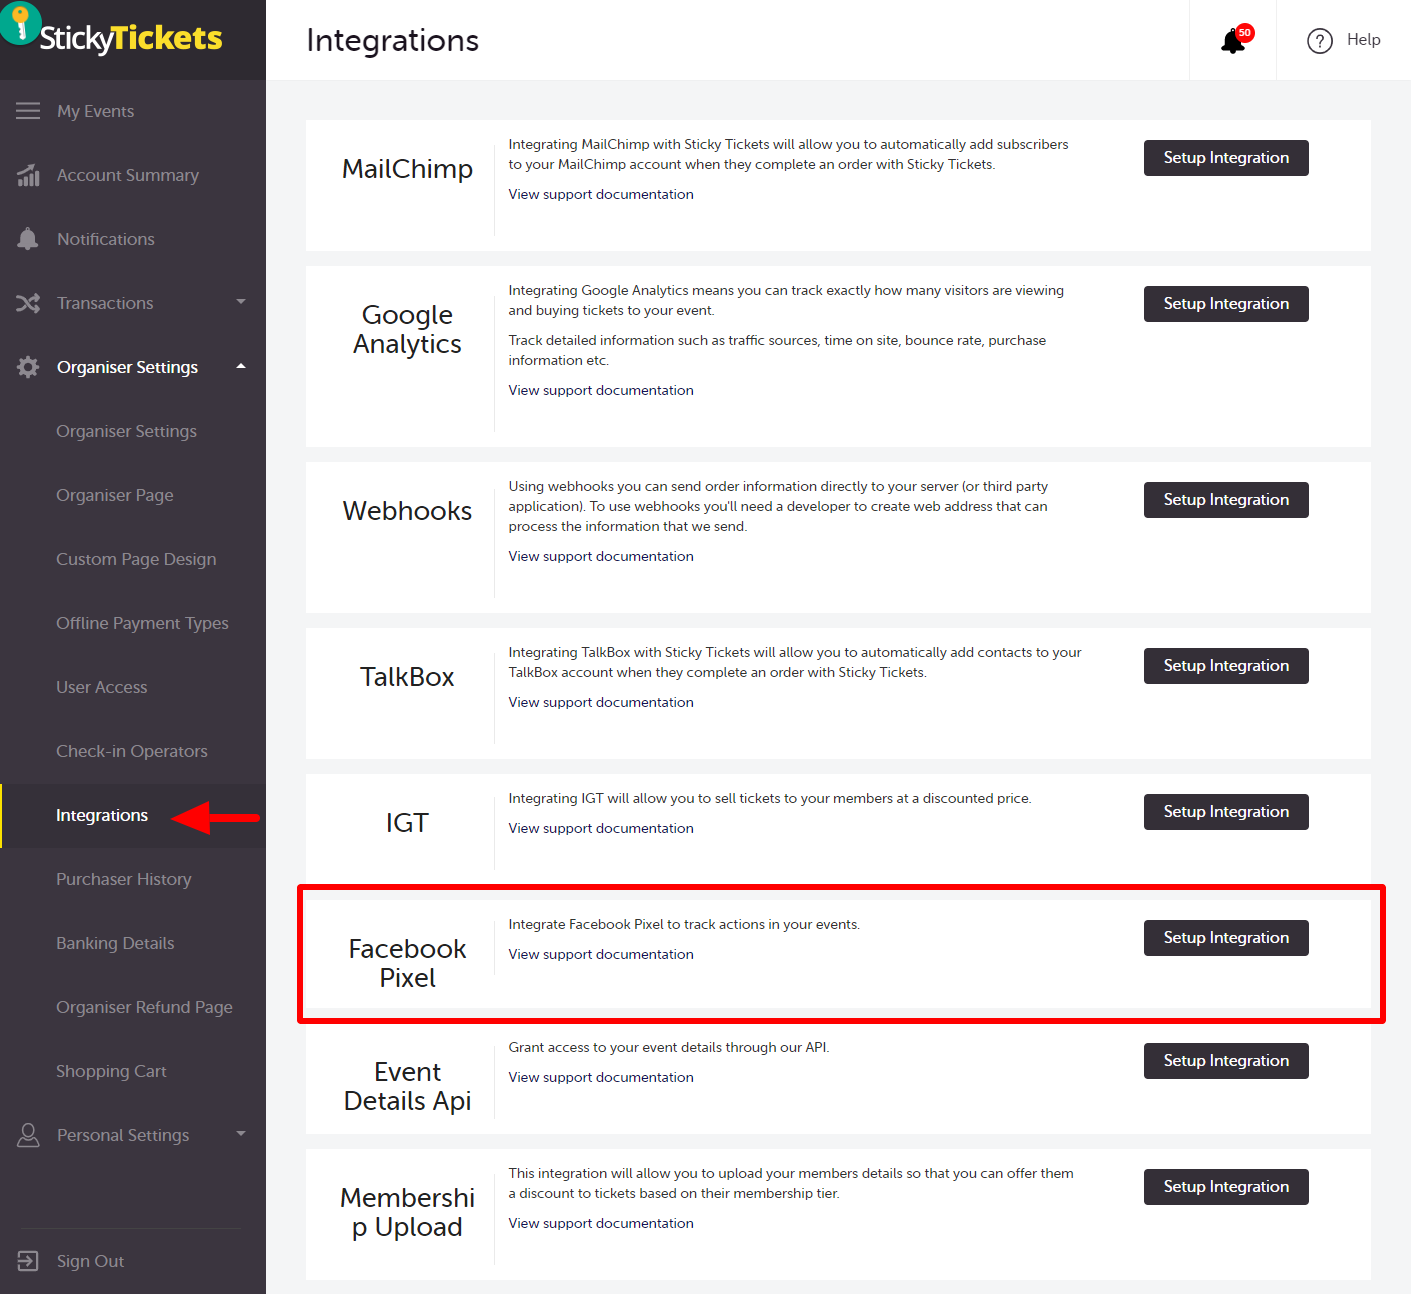
Figure 1 - Organiser’s Integrations Page
-
Input the Pixel ID in the textbox and click Save Changes.
- The pixel ID should be in a numeric format only.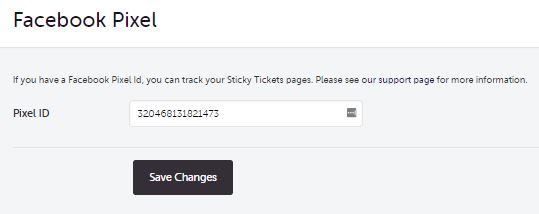
Figure 2 - Facebook Pixel ID Entry Page
-
Select an event. In the Promote / Marketing section, the Facebook Pixel link should be available.
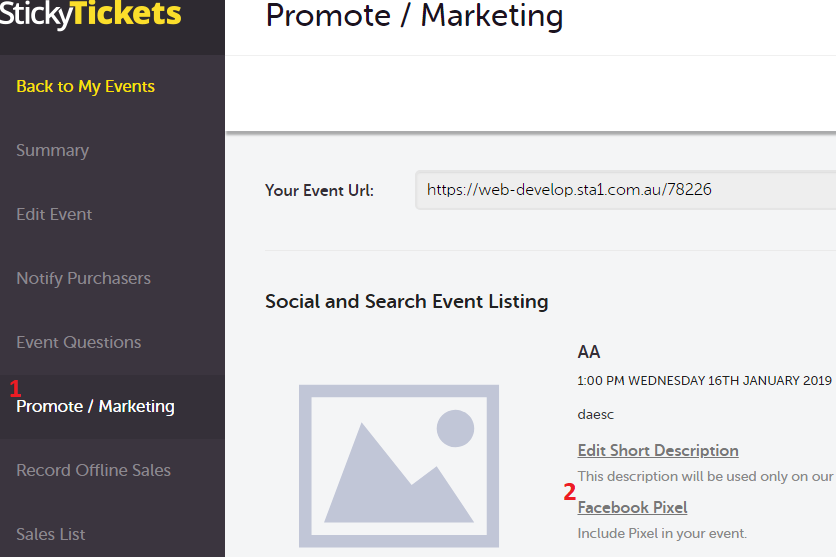
Figure 3 - Event’s Promote / Marketing Page
-
In the scope dropdown options, select the desired option for the coverage of the pixel. Once selected, click Save Changes.
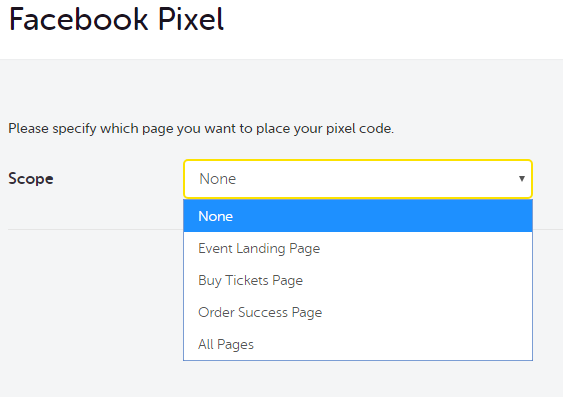
Figure 4 - Facebook Pixel Scope Configuration Page
-
The organiser may now monitor the event activity in their Facebook Pixel dashboard once the event is live.
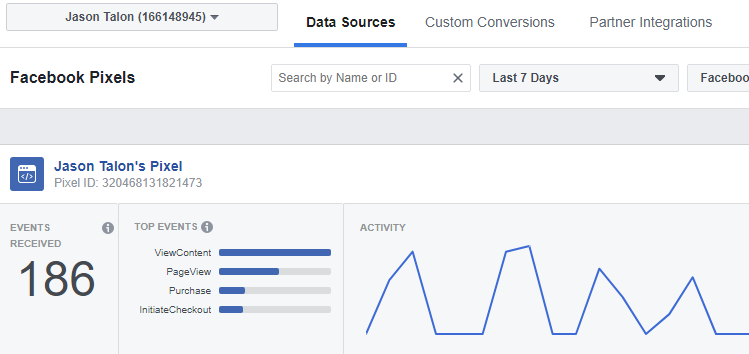
Figure 5 - Facebook Events Manager Dashboard Page
FAQ
-
I have the whole JavaScript pixel code. Where can I find the pixel ID?
-
Facebook provides you with the whole JavaScript code to embed it to the page’s HTML script. The Sticky Tickets website only needs the pixel ID, and it will take care of the rest. The ID is in a numerical format and can be found in the provided screenshots below. Copy the ID and paste it in the Pixel ID text box found in the Organiser > Integrations > Facebook Pixel
-
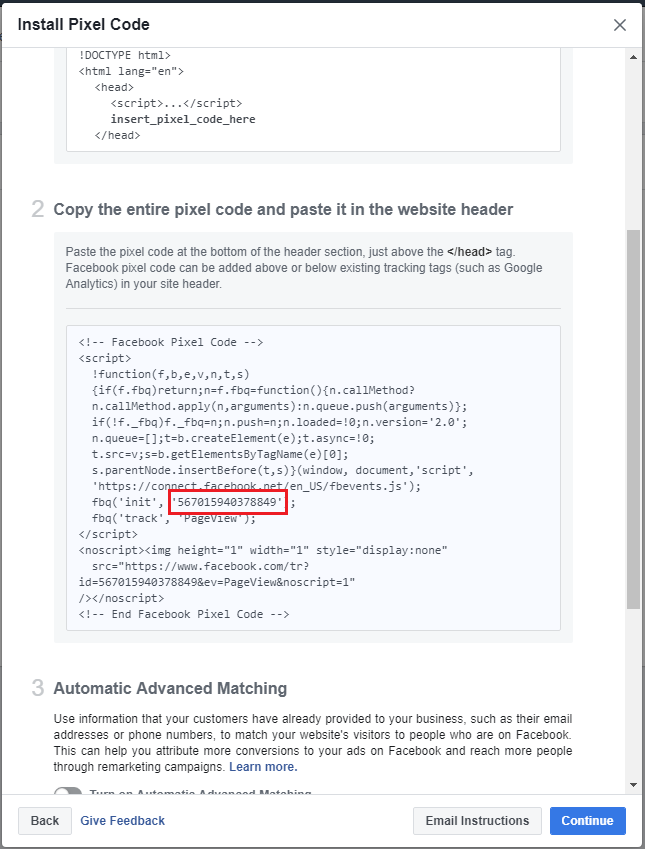
Figure 6 - Install Pixel Code Wizard. Pixel ID Highlighted in red.
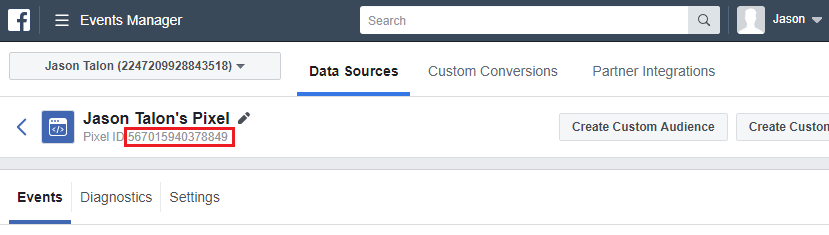
Figure 7 - Facebook Events Manager Dashboard Page, Pixel ID Highlighted in red.
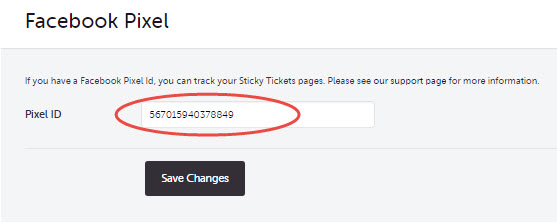
Figure 8 - Posted Pixel ID in the text box entry.
If you have any questions about the Facebook Pixel or anything else, please don't hesitate to contact us any time and we'd be more than happy to help.