
Organisers can now customise individual page designs for each event. Here's what organisers can do when setting up their event pages:
- Add a Header Logo: The maximum size allowed for the header logo is 1200 pixels wide by 200 pixels high.
- Background Color/Image: For background images, ensure a minimum size of 1600 pixels wide by 2500 pixels high to fit the full width of the browser.
- Change Text Colors: Organisers have the option to change the colors of the text on their event pages.
- Change Button Colors: Customise the colors of buttons displayed on the event pages to match the event's theme or branding.
- Change Link Colors: Adjust the colors of hyperlinks on the event pages to ensure consistency with the overall design.
- Separate Edit Event Page Menu (Design): Access a dedicated menu for editing the design elements of the event page, allowing for easy customisation and management.
By leveraging these customisation options, organisers can create visually appealing and cohesive event pages tailored to their specific needs and branding requirements.
To create a design specifically for an event:
1. Log in to your Sticky Tickets account and navigate to the My Events tab.
2. Select the event you want to customise.
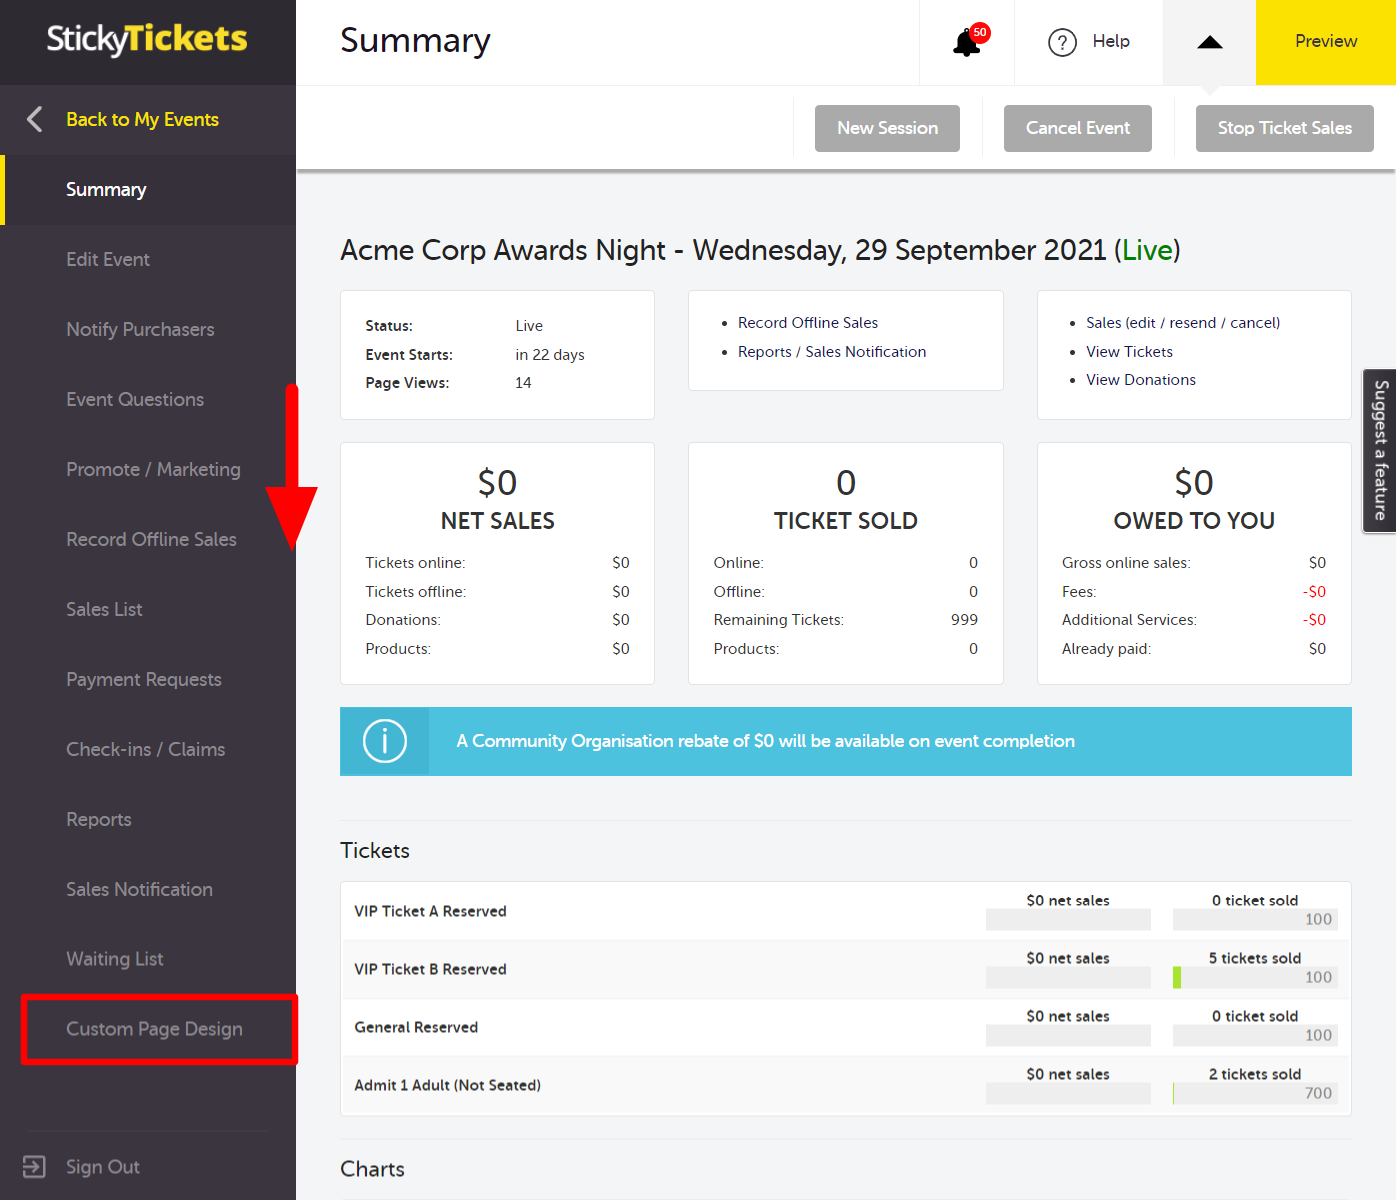
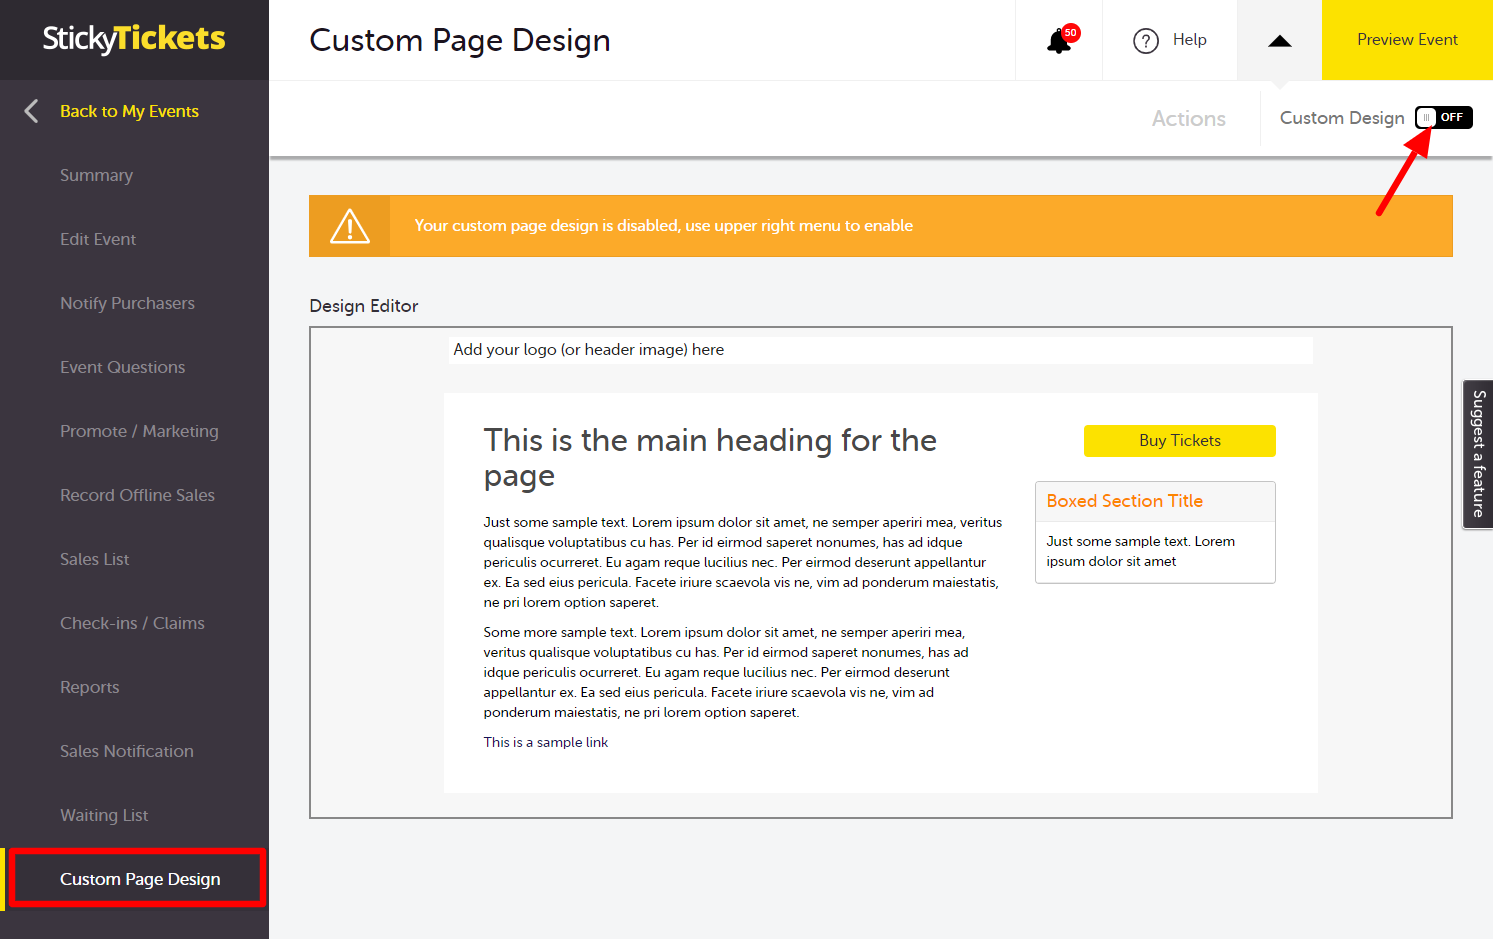
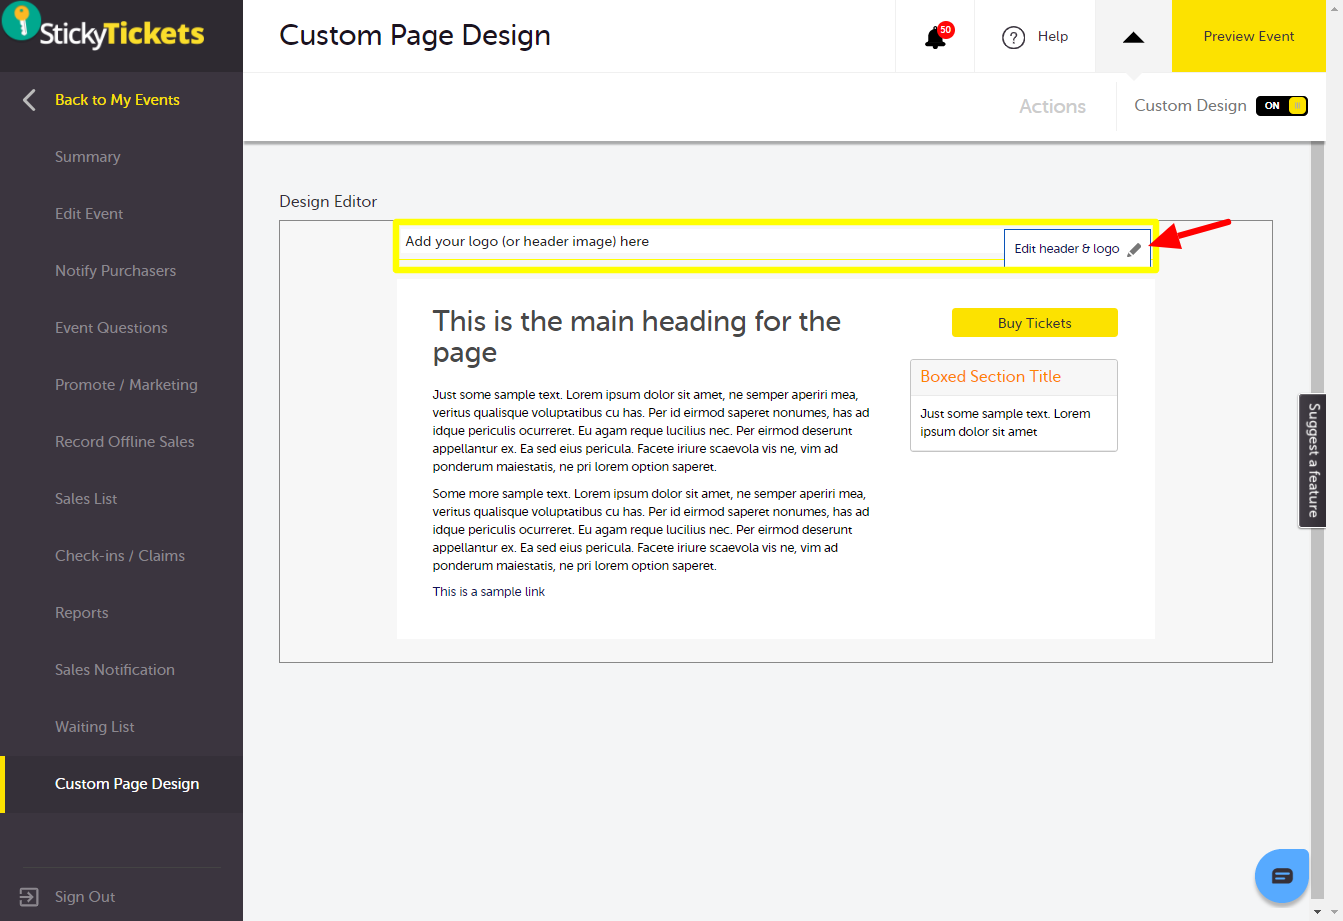
3. In the left panel, click on the 'Custom Page Design' tab.
4. If you have set up your Organiser page design before, you will notice that this has the same interface as the event page-level Custom Page Design tab.
5. Toggle the Custom Page button to turn on or off the custom page design for your event.
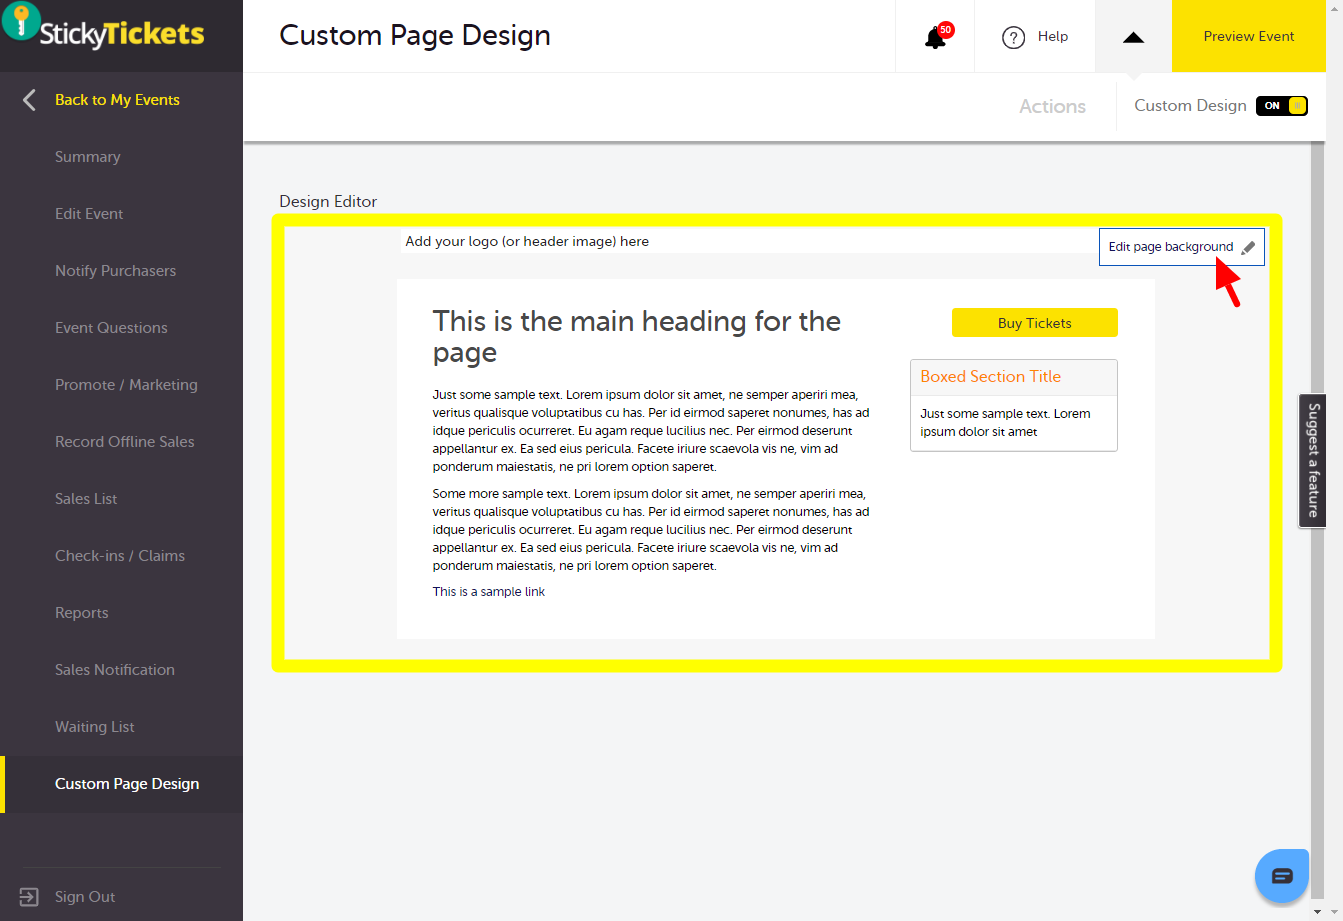
5. Event background - to change your event page background, move your mouse cursor to a space near the board. The whole box will be highlighted and the 'Edit page background' button will appear.
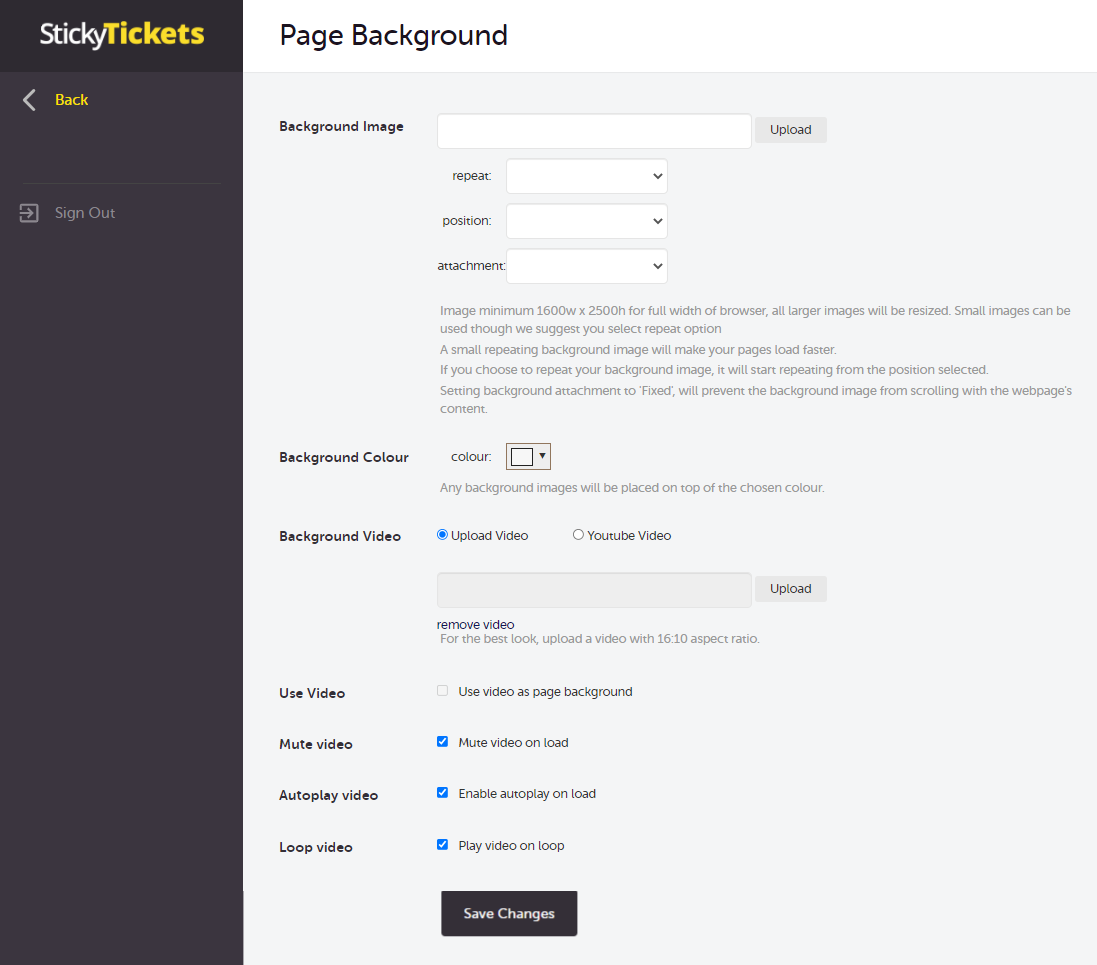
With your event background, you can use an image or video file as the background. For images, ensure a minimum size of 1600w x 2500h for full browser width. For videos, ensure a 16:10 aspect ratio or use YouTube video links. Adjust the transparency setting as needed.
Note: Autoplay may not work on some browsers due to inbuilt restrictions (depending on the browser used to view the page), though in some cases, muting the sound will allow the video to autoplay.
6. Event header - Customise the event header by adding an image or video file. The maximum logo size is 1200w x 200h pixels. Adjust autoplay settings if using a video background.
Note: Autoplay may not work on some browsers due to inbuilt restrictions (depending on the browser used to view the page), though in some cases, muting the sound will allow the video to autoplay.
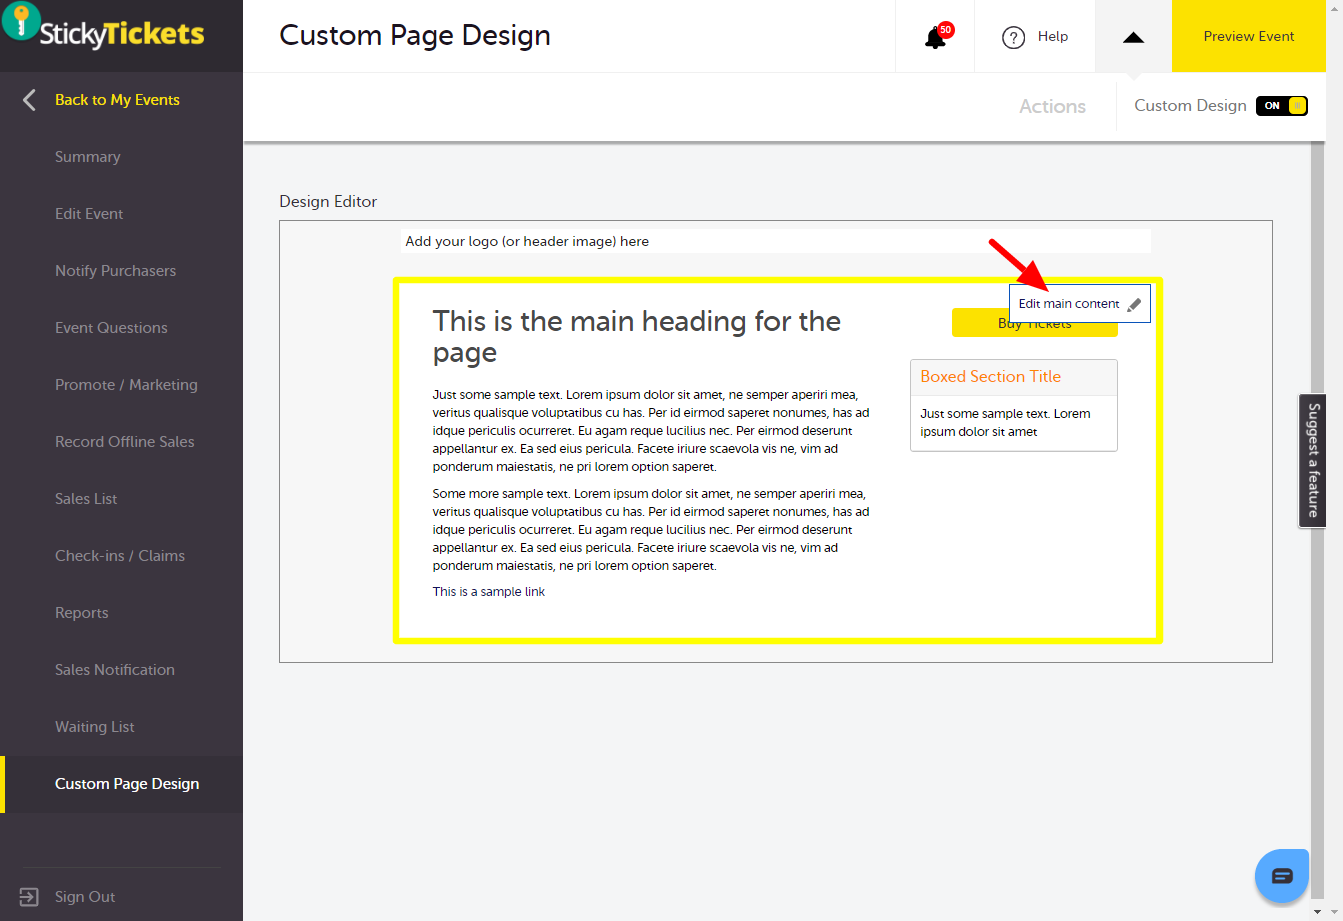
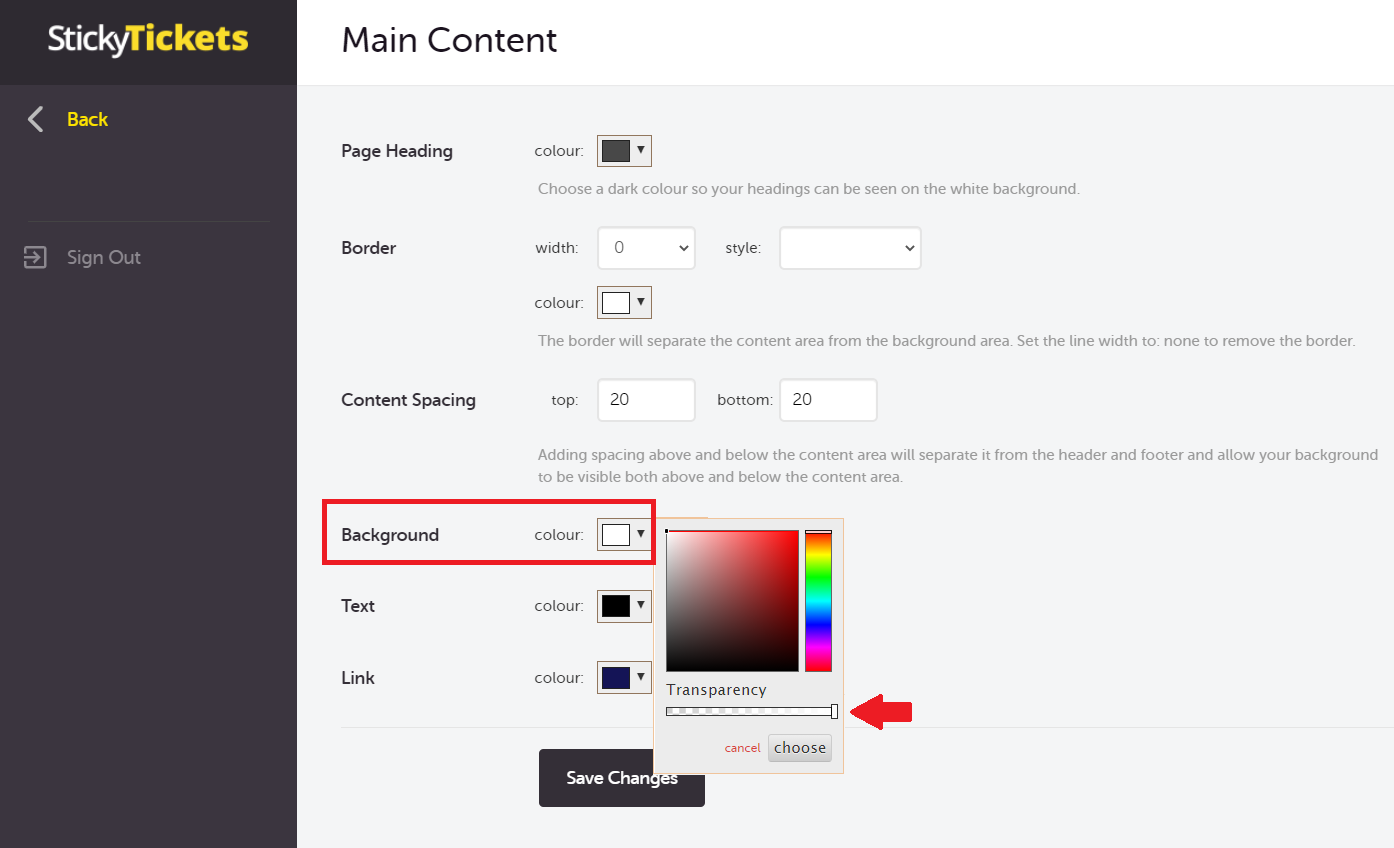
7. Event Details and Description - Customise the event details and description, including background, border, text, and link colours. Adjust background transparency to blend with the main content area.
Recommended: Three-quarter transparency seems to work well on most custom pages. See the image below.
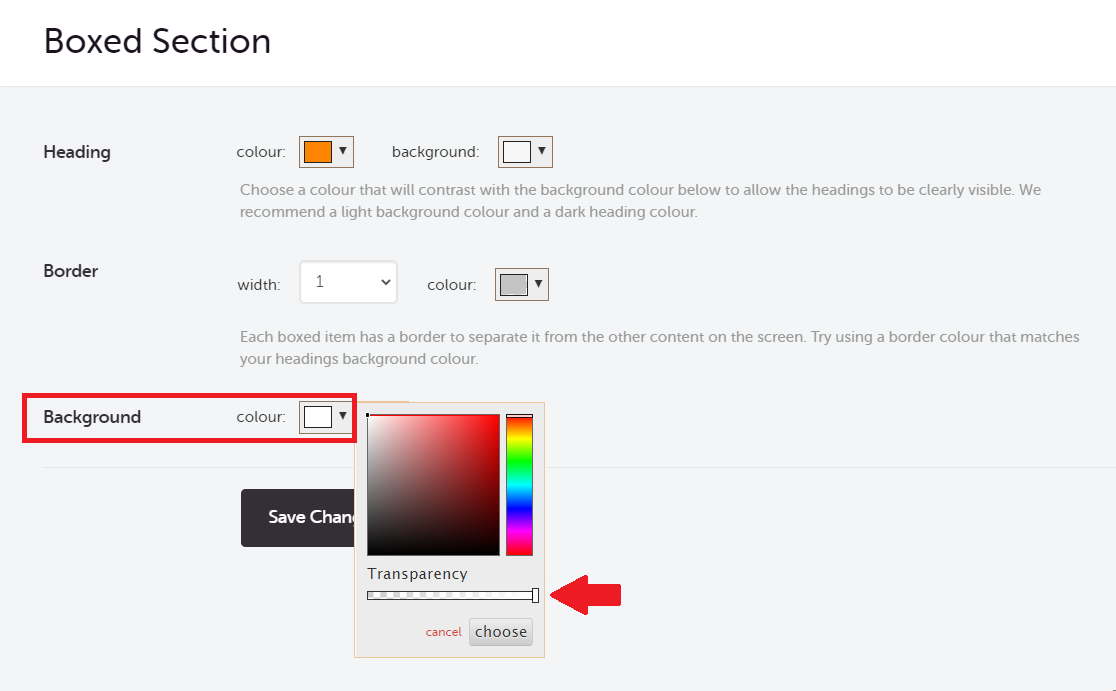
8. Box Section (Organiser contact detail, Refund Policy box) - Customise box sections such as organiser contact details and refund policy by changing the header, border, and background colours. Adjust transparency for seamless blending.
Recommended: You also adjust the background transparency to blend in the video to the border of the main content area. Three-quarter transparency seems to work well on most custom pages. See the image below.
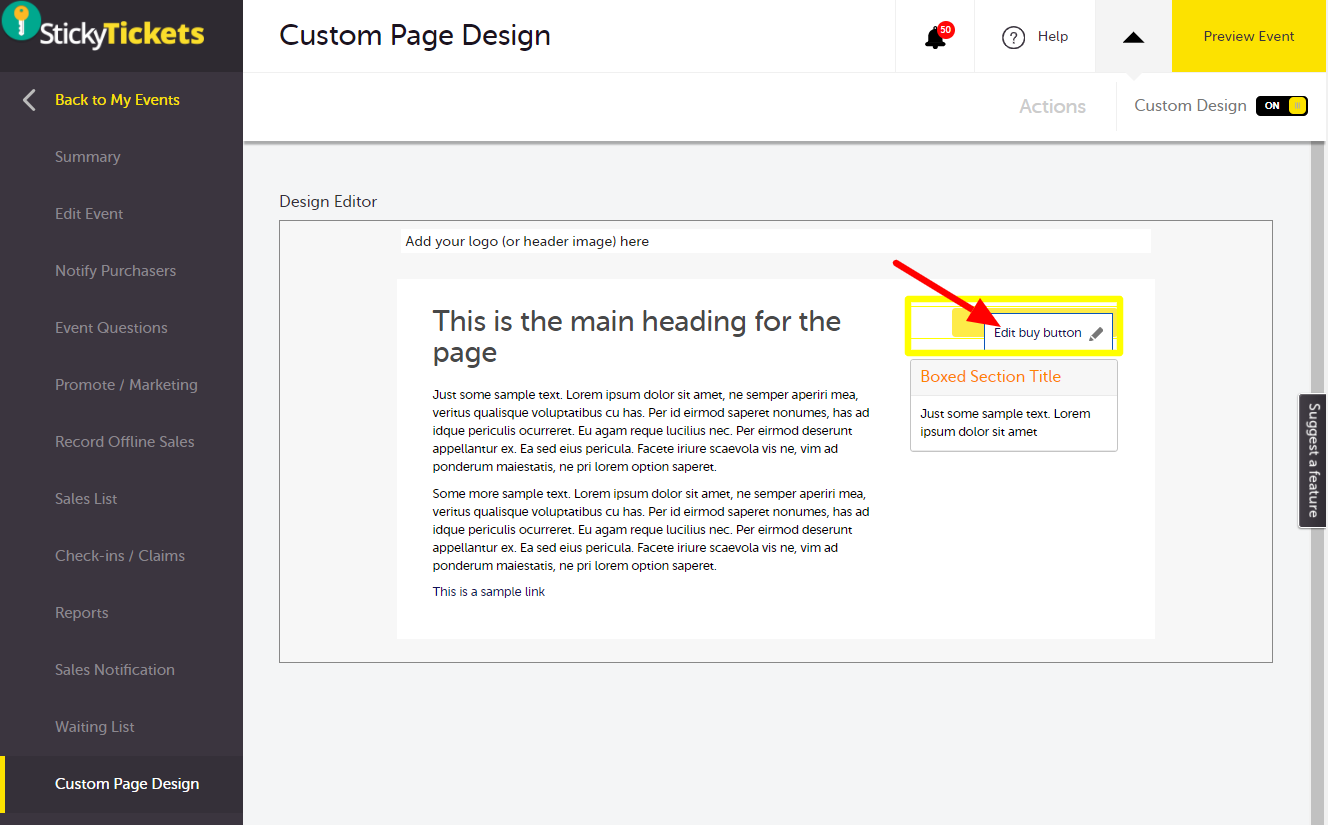
9. Buy Tickets button - Customise the 'Buy Tickets' button by changing the button colour and text.
Important Notes:
- If both Organiser Page Design and Event Page Design are enabled, the event page design will take precedence.
For further assistance with customising your event and organiser pages, feel free to contact us anytime. We're here to help!