If a standard report includes more data than you need, you can build a custom report with just the columns you want, plus optional filters.
How to create a custom report
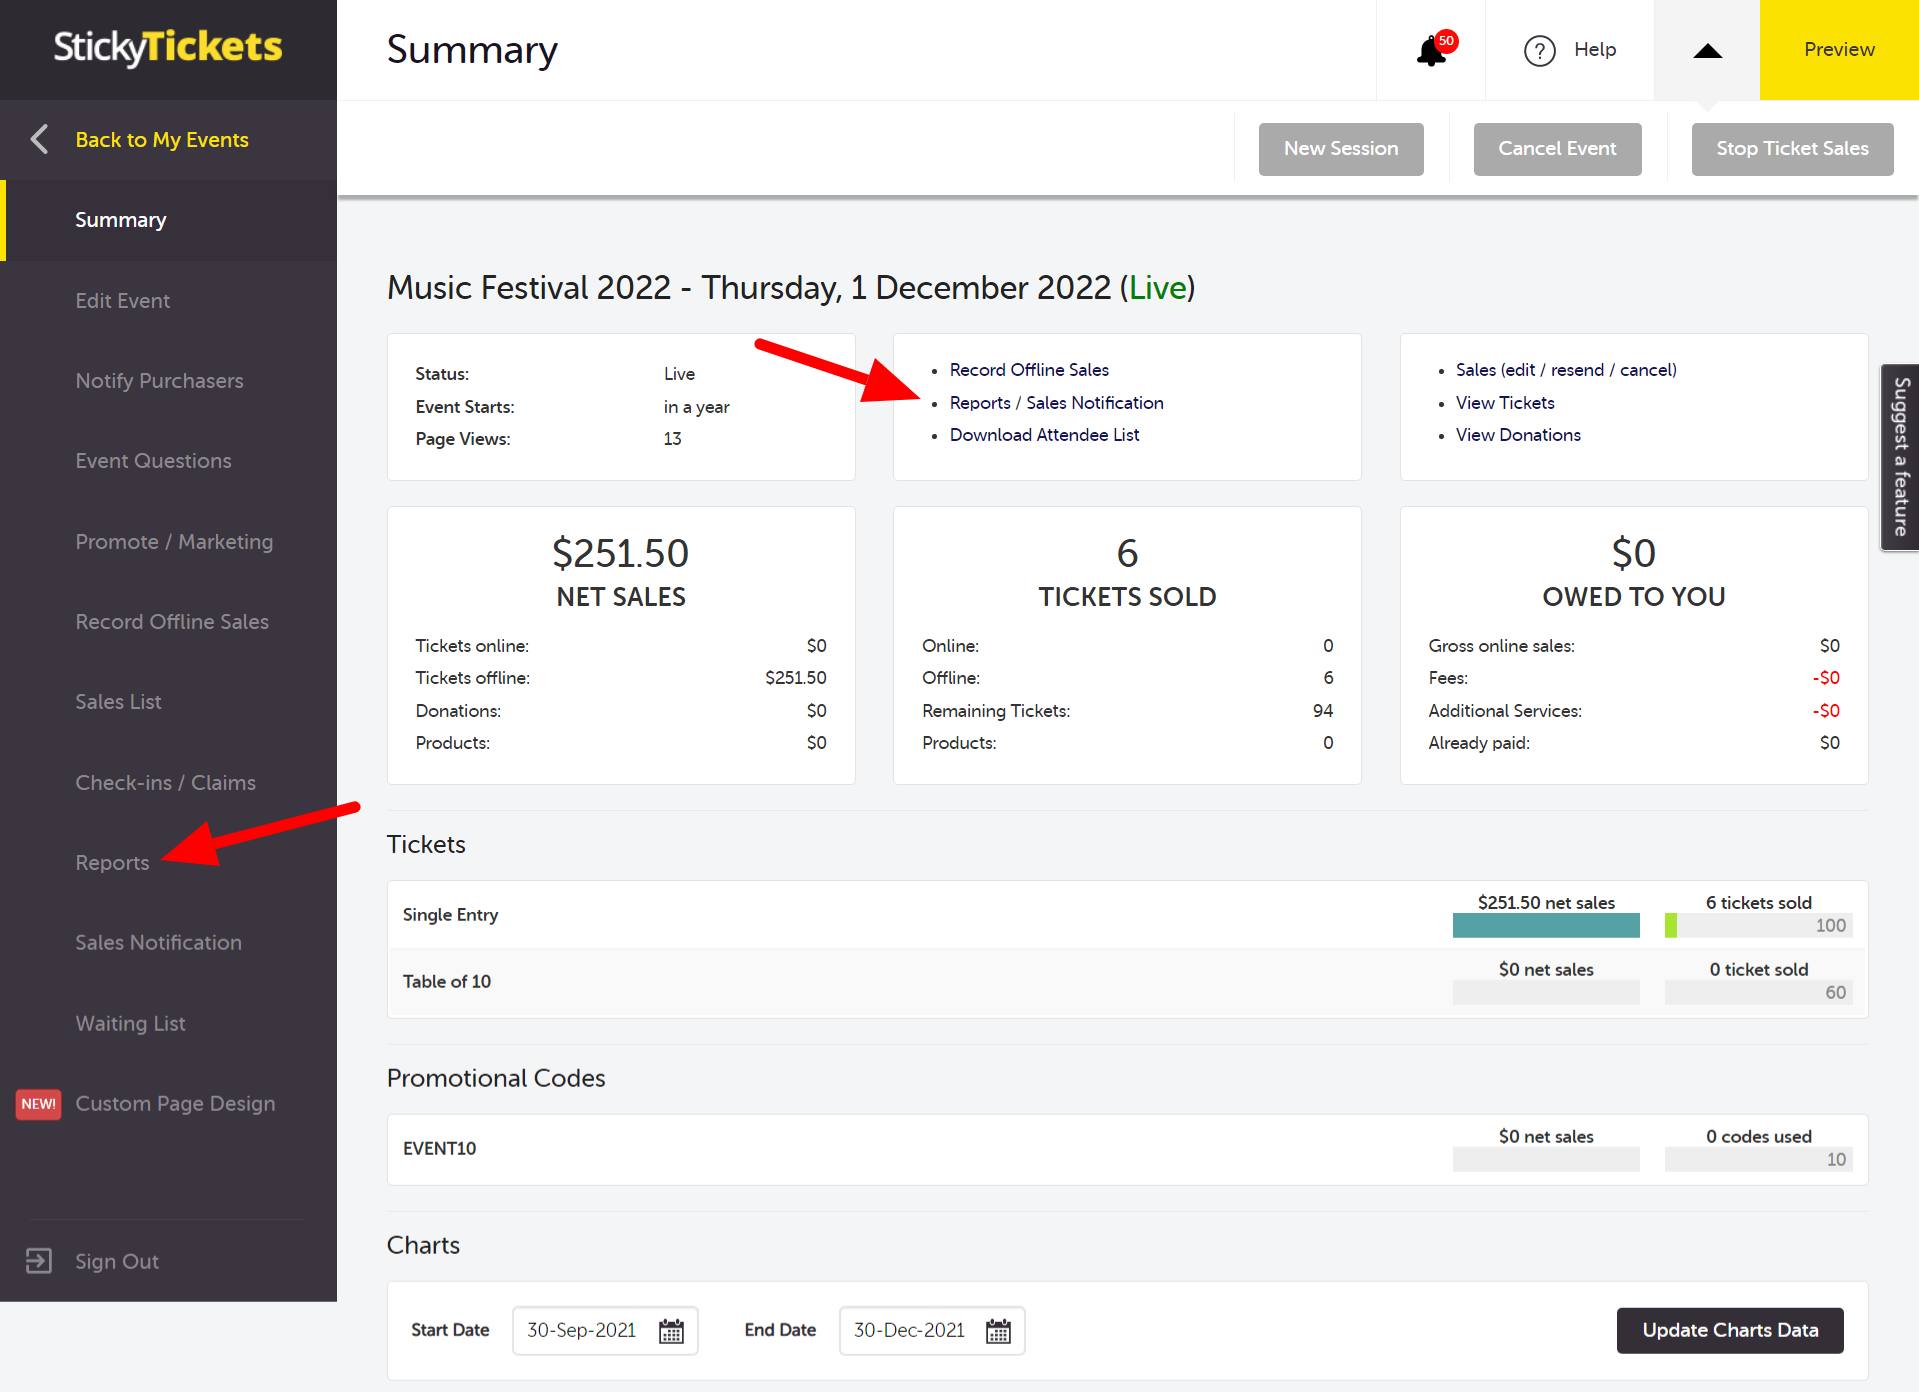
- Open your event and go to the Reports tab.
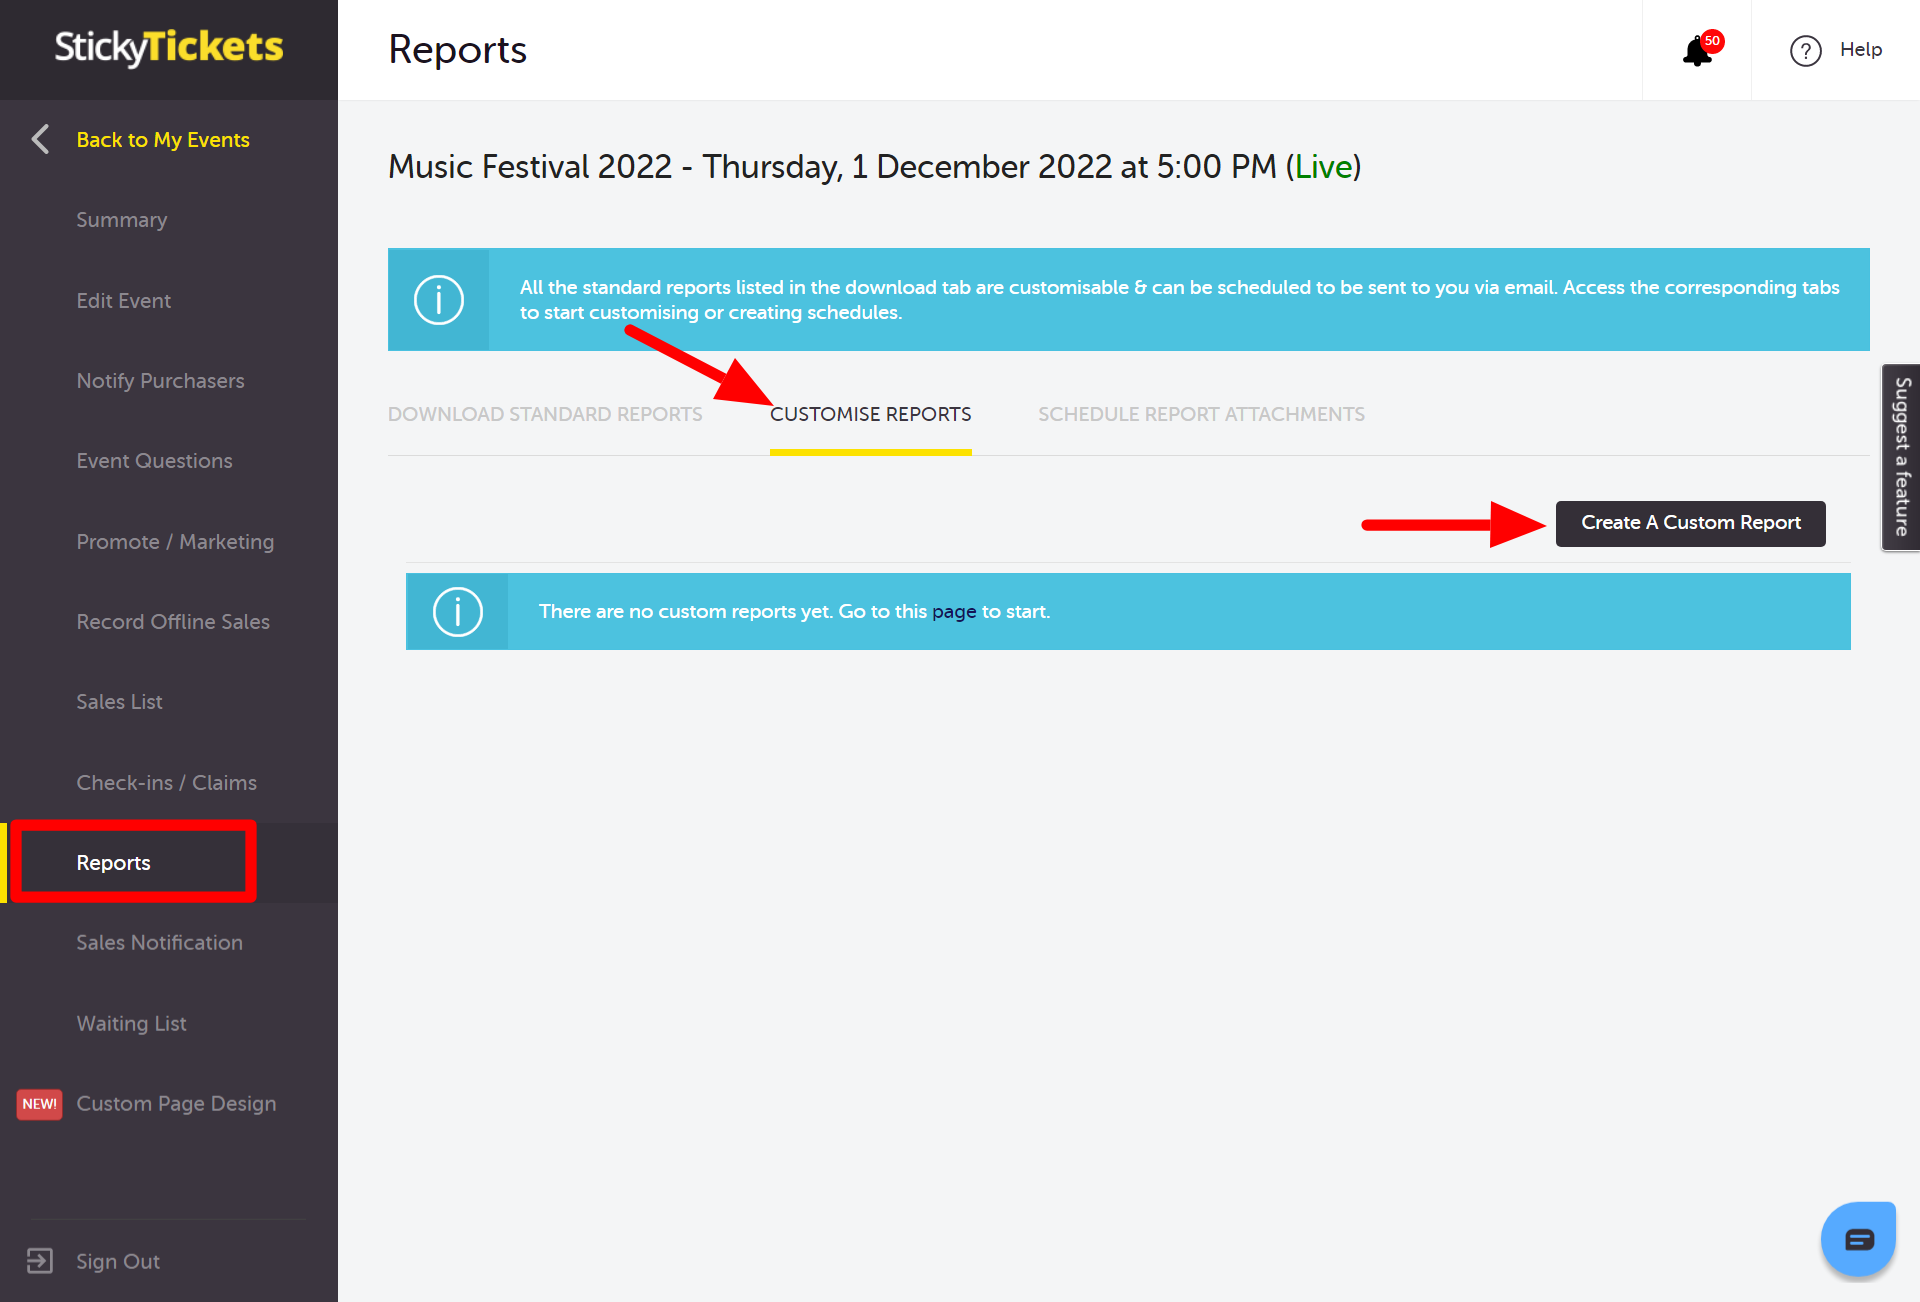
- Select Customise Reports, then select Create A Custom Report.

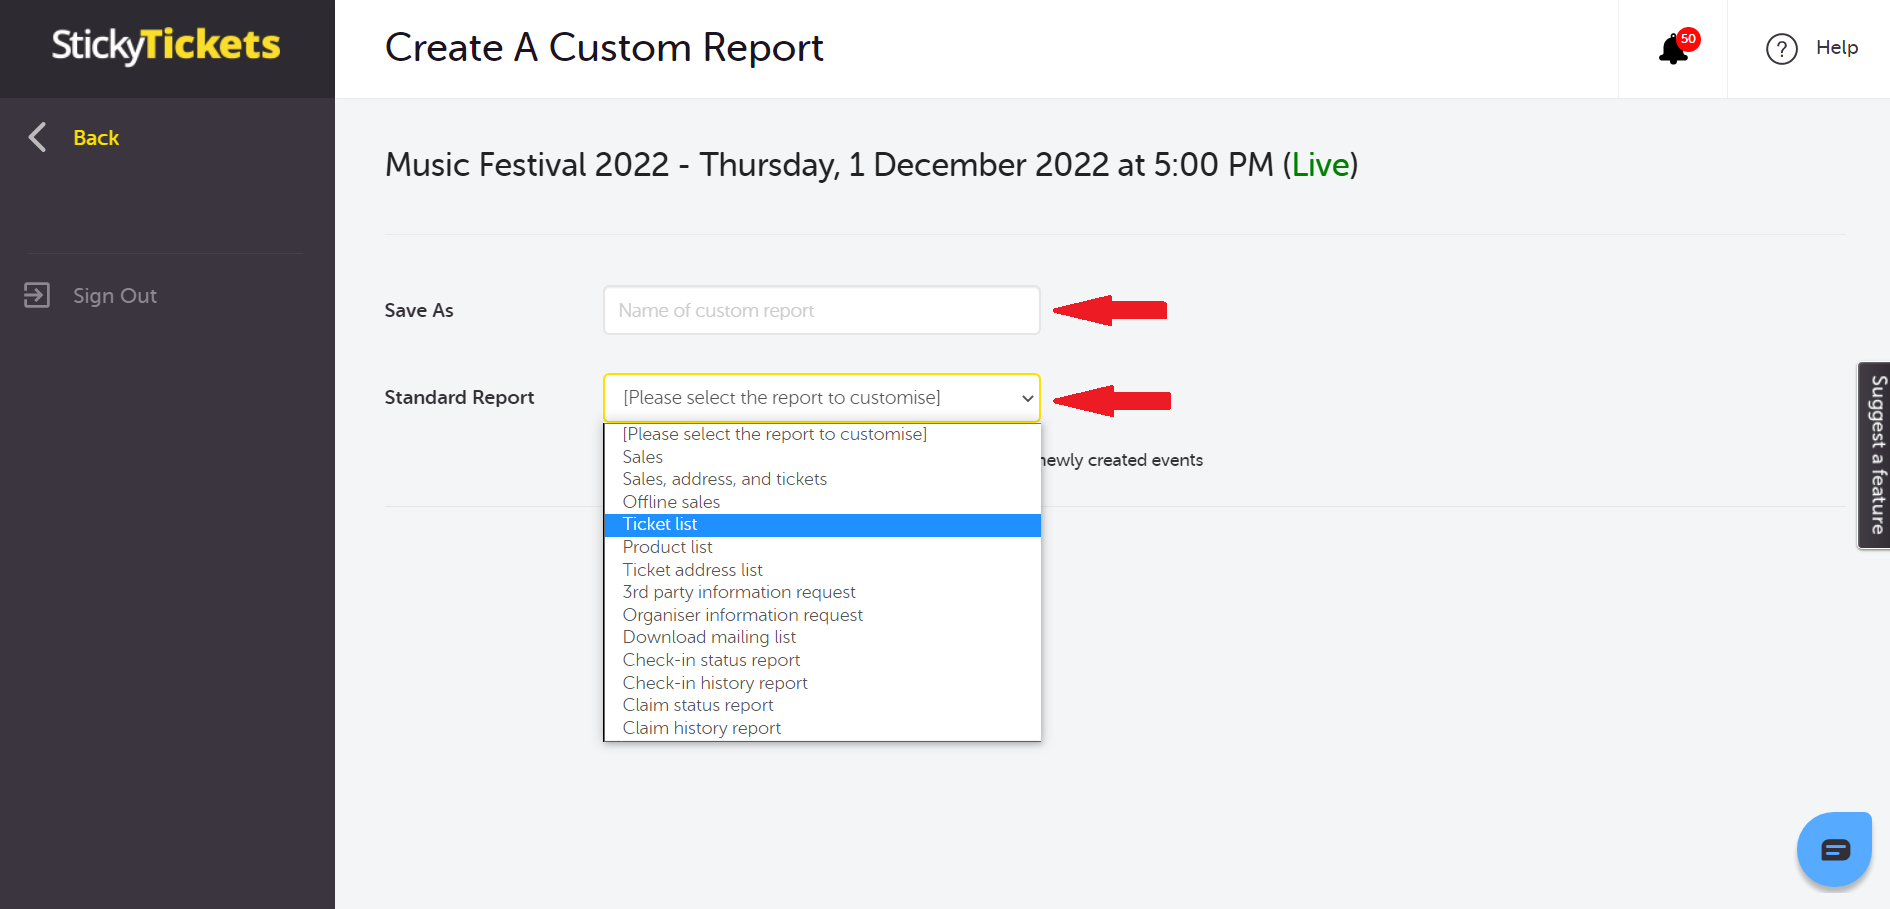
- Under Save As, enter a name for your report.
- From the Standard Report dropdown, select the report you want to base your custom report on.

TIP: The "Sales, address, and tickets" report contains the most data, giving you the most fields to choose from — start here if you're not sure which base report to use, then remove the columns you don't need.
- Under Columns, tick which fields you want included.
- Optionally, add up to 10 search filters (each up to 70 characters) to narrow your results.
- Check the Preview table to see how your report will look with real data before creating it.
- Select Create Custom Report.
Note: By default, a custom report applies to the event you created it for. If you want it available across all your events — including future ones — tick "Make this custom report available to all events & to newly created events" before saving.
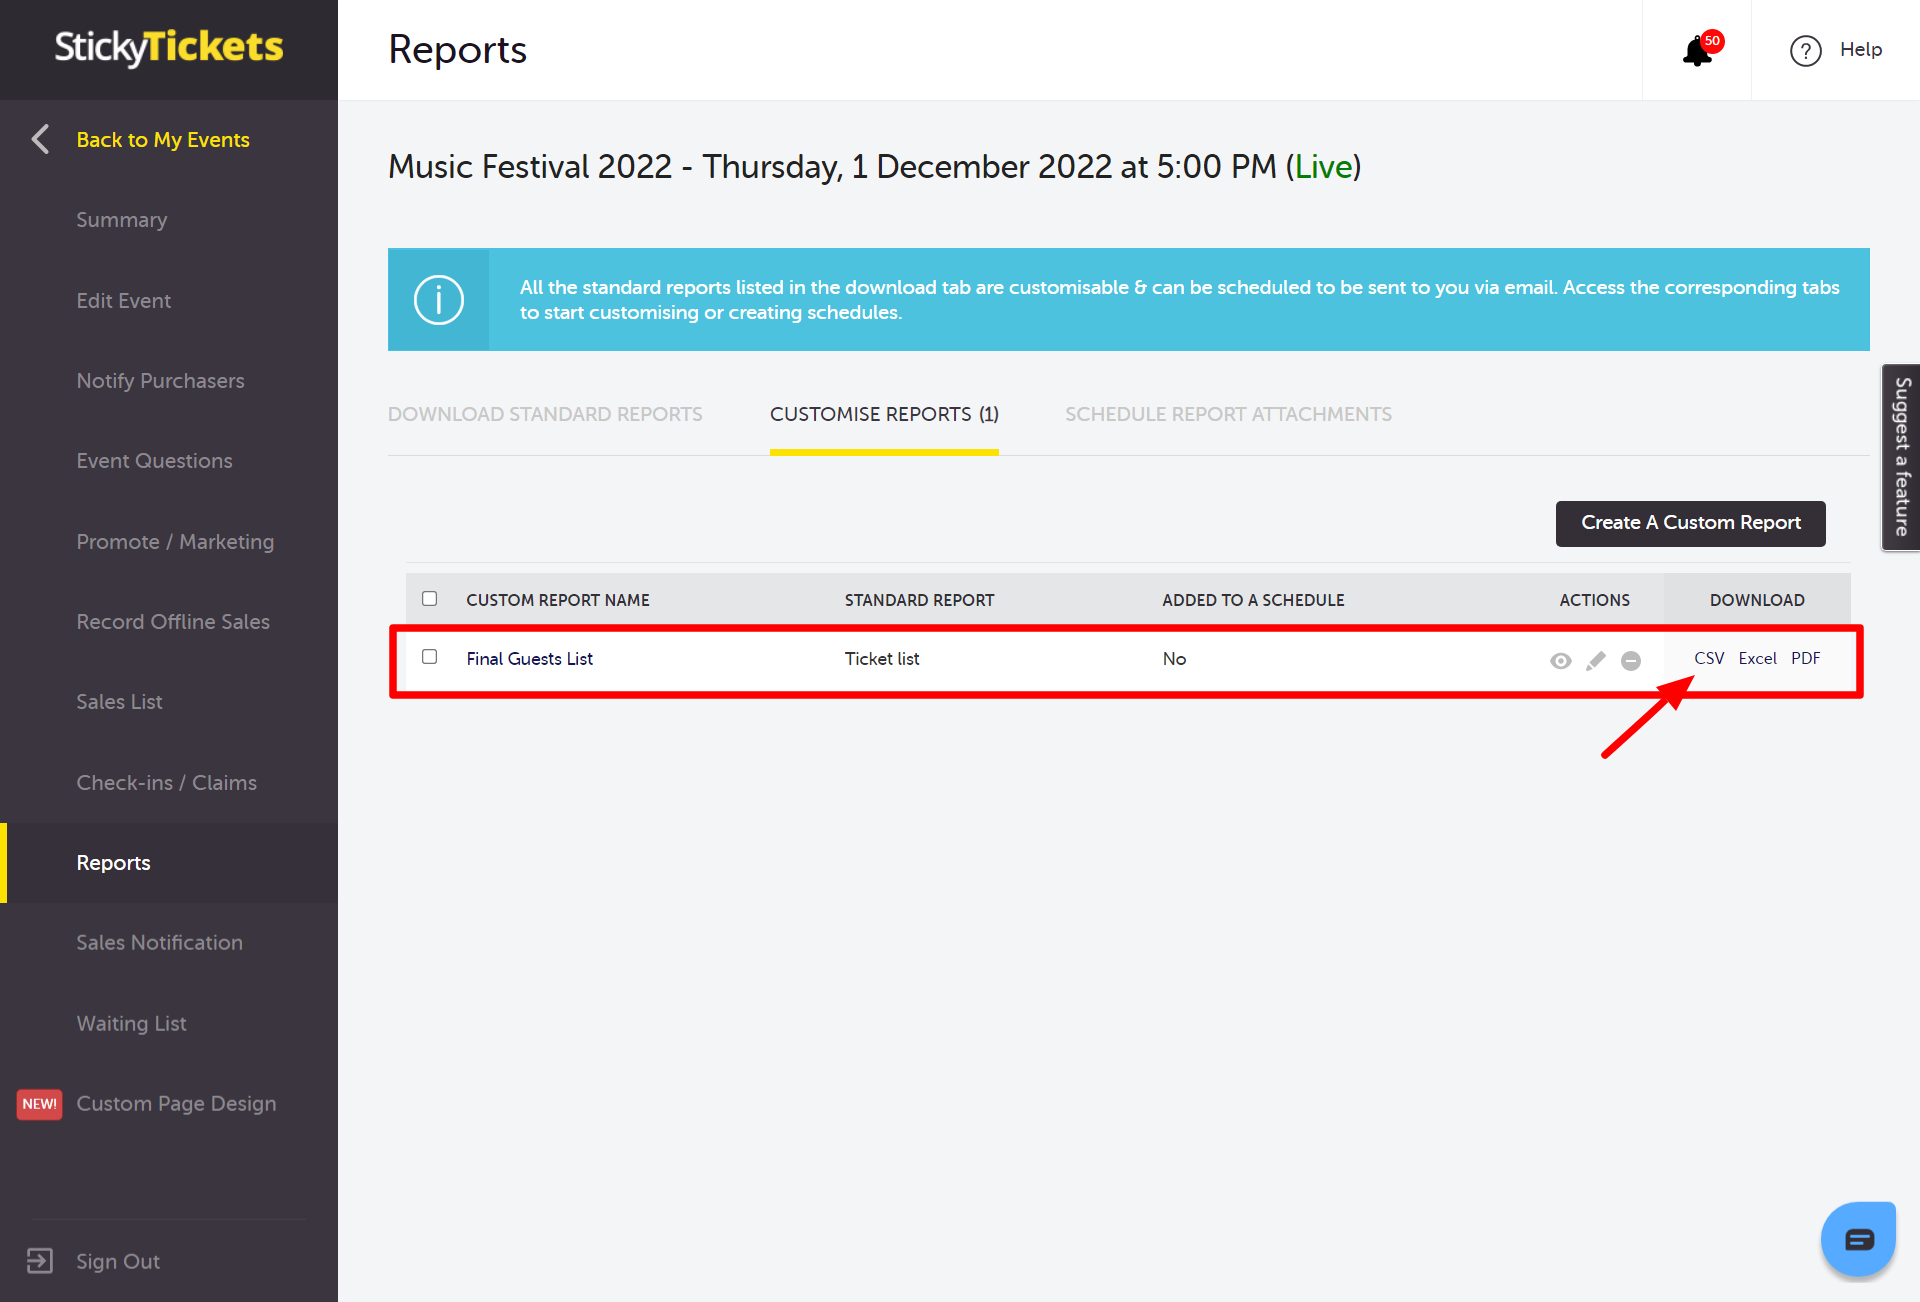
Once created, your custom report is listed on the Reports tab, and you can download a copy anytime.
Most common scenario and questions
Can I use this custom report on other events?
-
Yes — tick "Make this custom report available to all events & to newly created events" when creating it. Otherwise, it applies only to the event you created it for.
Can I get this report emailed to me automatically?
-
Yes — see our guide on scheduling automated report emails, which lets you schedule both standard and custom reports for recurring delivery.
What formats can I download my custom report in?
-
Reports are available for download in CSV format.
Need more help?
If you have any questions about creating custom reports, contact our support team.
To customise the view of standard reports and download a CSV, Excel, or PDF copy, follow these steps:
1. Open the event you are working on and access the Reports tab.
2. On the Reports page, click the Customise Report tab, then click Create A Custom Report button.
3. Enter the name you want to use for this report. From the Standard Reports drop-down menu, select a report that you would like to customize. Tip: The Sales, address, and tickets report have the most data, allowing you to delete the fields you do not require.
4. You can set this custom report to be available in all of your events, including future events.
In the custom report settings:
-
Select which fields (columns) you would like to include in your custom report.
-
Set filters in the report (optional).
-
View how the report will appear in the Preview box (this shows the actual data).
-
Click the Create Custom Report button.

You can view all custom reports created for this event from the Reports tab and download a copy anytime you need it.
If you have any questions about this or anything else, please don't hesitate to contact us, and we'd be more than happy to help.